Wednesday, April 28, 2010

Carnival Party: How to DIY


Here's how you can DIY a Carnival Party too:
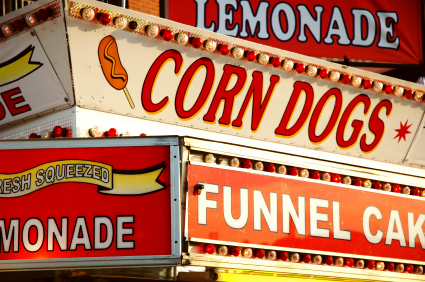


Carnival Food:
  • Set up 1-2 tents side by side for food area. Set up an 8' foot folding table for all the food. Put a primary (Red, Yellow or Blue) colored table cloth on the table. Hang a pennant banner on front of table in primary colors. 

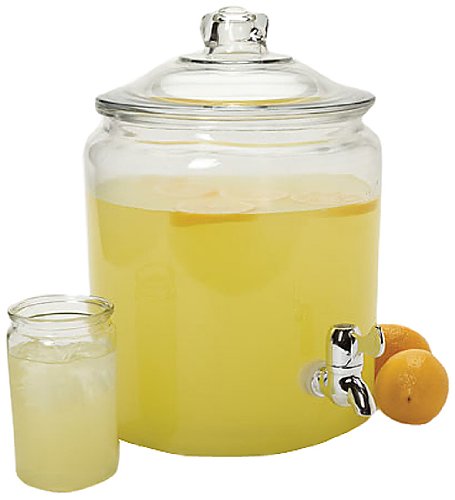
  • Lemonade in glass dispenser and water bottles with custom carnival sticker label (DIY-customize using free downloadable carnival font)


  • Hotdogs/Corn Dogs: Use a roller grill or crock pots filled with water to keep the hotdogs warm and ready to serve. Or you can set up a fabulous table just like A Little Polka Dot did here.
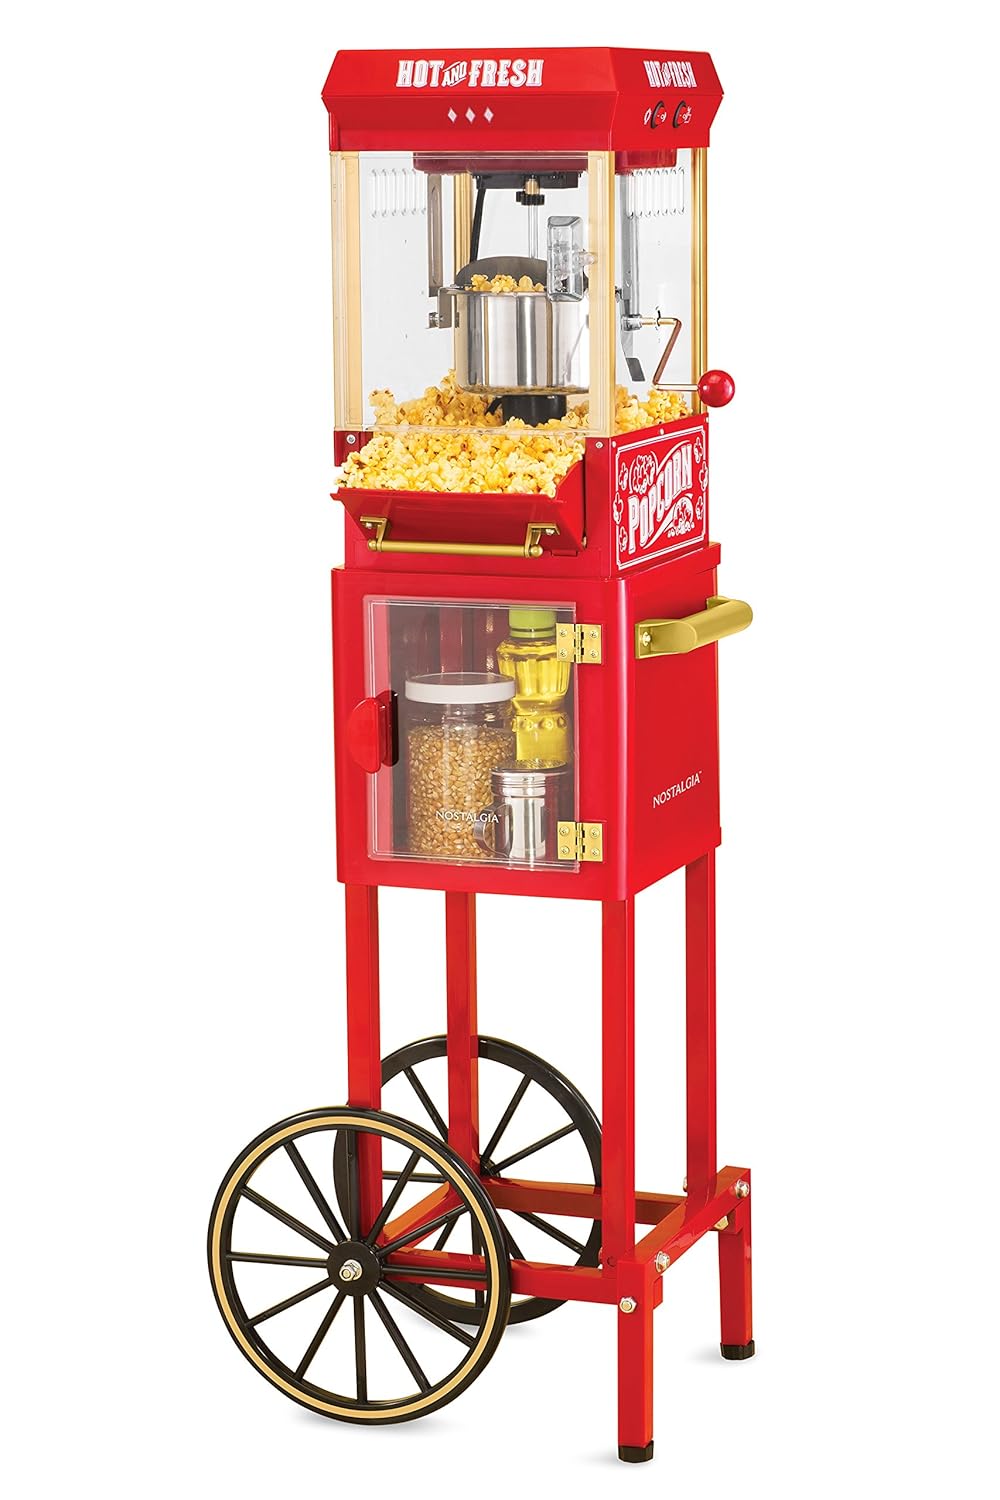


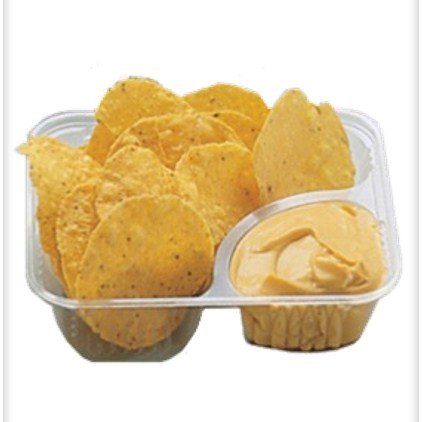
  • Nachos: use circle nacho chips and melted nacho cheese, serve in paper or plastic nacho trays  ***Tip: You can use these same paper trays to serve your hotdogs, nachos and big pretzels.


  • Big soft pretzels with salt (frozen section of grocery store). Serve with nacho cheese and yellow mustard.


  • Ketchup, Mustard, Relish in clear squirt bottles from Walmart or dollar spot at Target. ***Tip: Cut tip of bottle bigger with scissors so relish can squirt out.


Dessert Table:


  • Under a tent,  set up a smaller rectangle or card table for the desserts and cover with another primary color table cloth. Add a pennant banner to the front of table that says "Sweet Treats"!
  • Carnival birthday cake (This is a BEAUTIFUL CAKE from Tammy at Southern Cottage Cakery, inspired me to be a blogger) (how to DIY fondant popcorn)


 Here is how Jen did it:

  1. 1) Bake cupcakes in red and white striped liners or use a cupcake sleeve. Ice with white buttercream. Use miniature marshmallows to make the popcorn by placing them on top of cupcake onto the  buttercream layer.
  2. 2) Use a pair of clean scissors and snip the tops of the marshmallows twice (in opposite directions, to form an "x").
  3. 3) Lightly spray the top of the cupcakes with yellow color mist to look like butter.


  • Caramel apples (DIY)


  • Confetti Rice Krispie treats (dip in bright colored sprinkles) (DIY)
  • Cotton candy in paper cones (DIY) Most dollar stores or walmart sell cotton candy or again you can go all out and rent a machine!


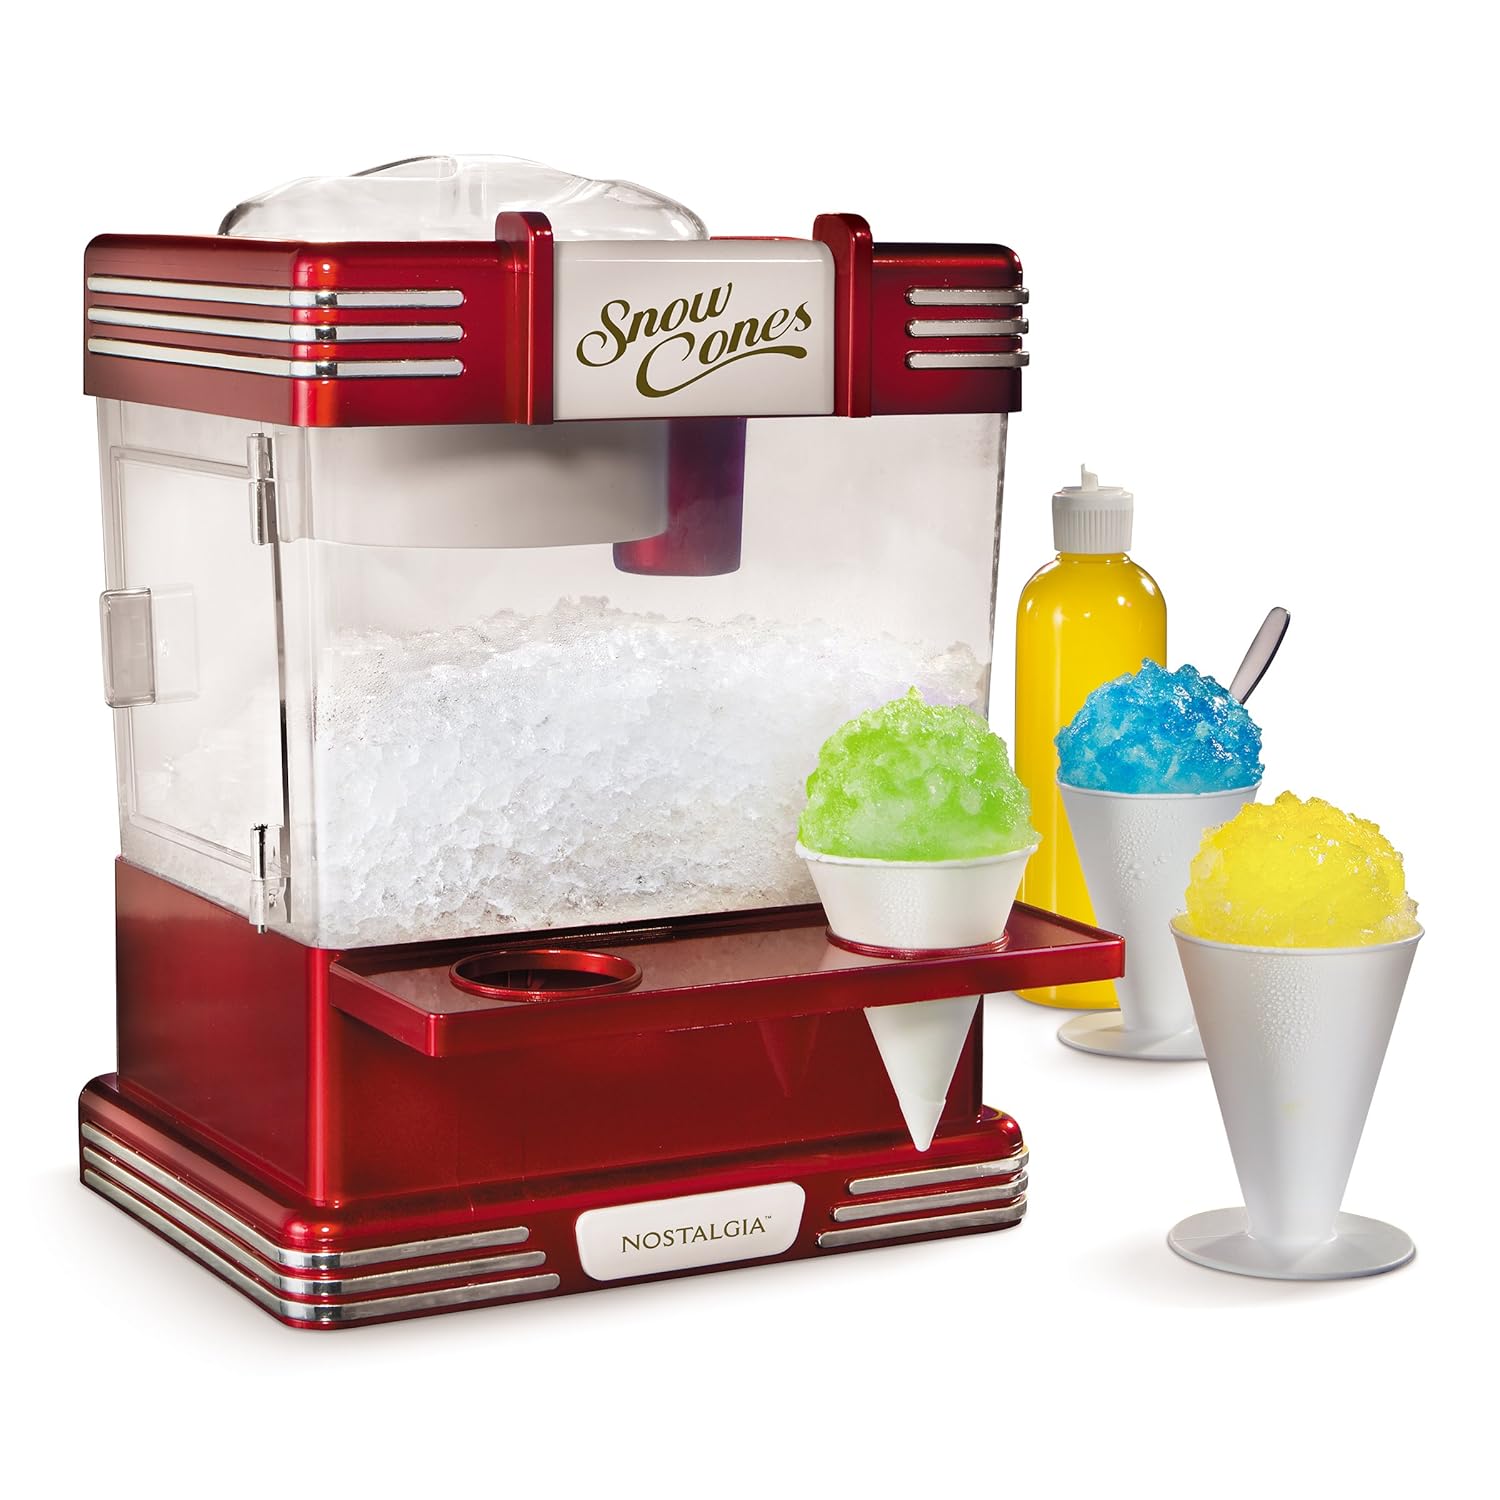
  • Snow cones or try colorful italian ice (Store italian ice in a styrofoam cooler with dry ice and have an adult scoop it into 4oz paper souffle cups for kids. They can squeeze it right into their mouth...no spoon needed!)


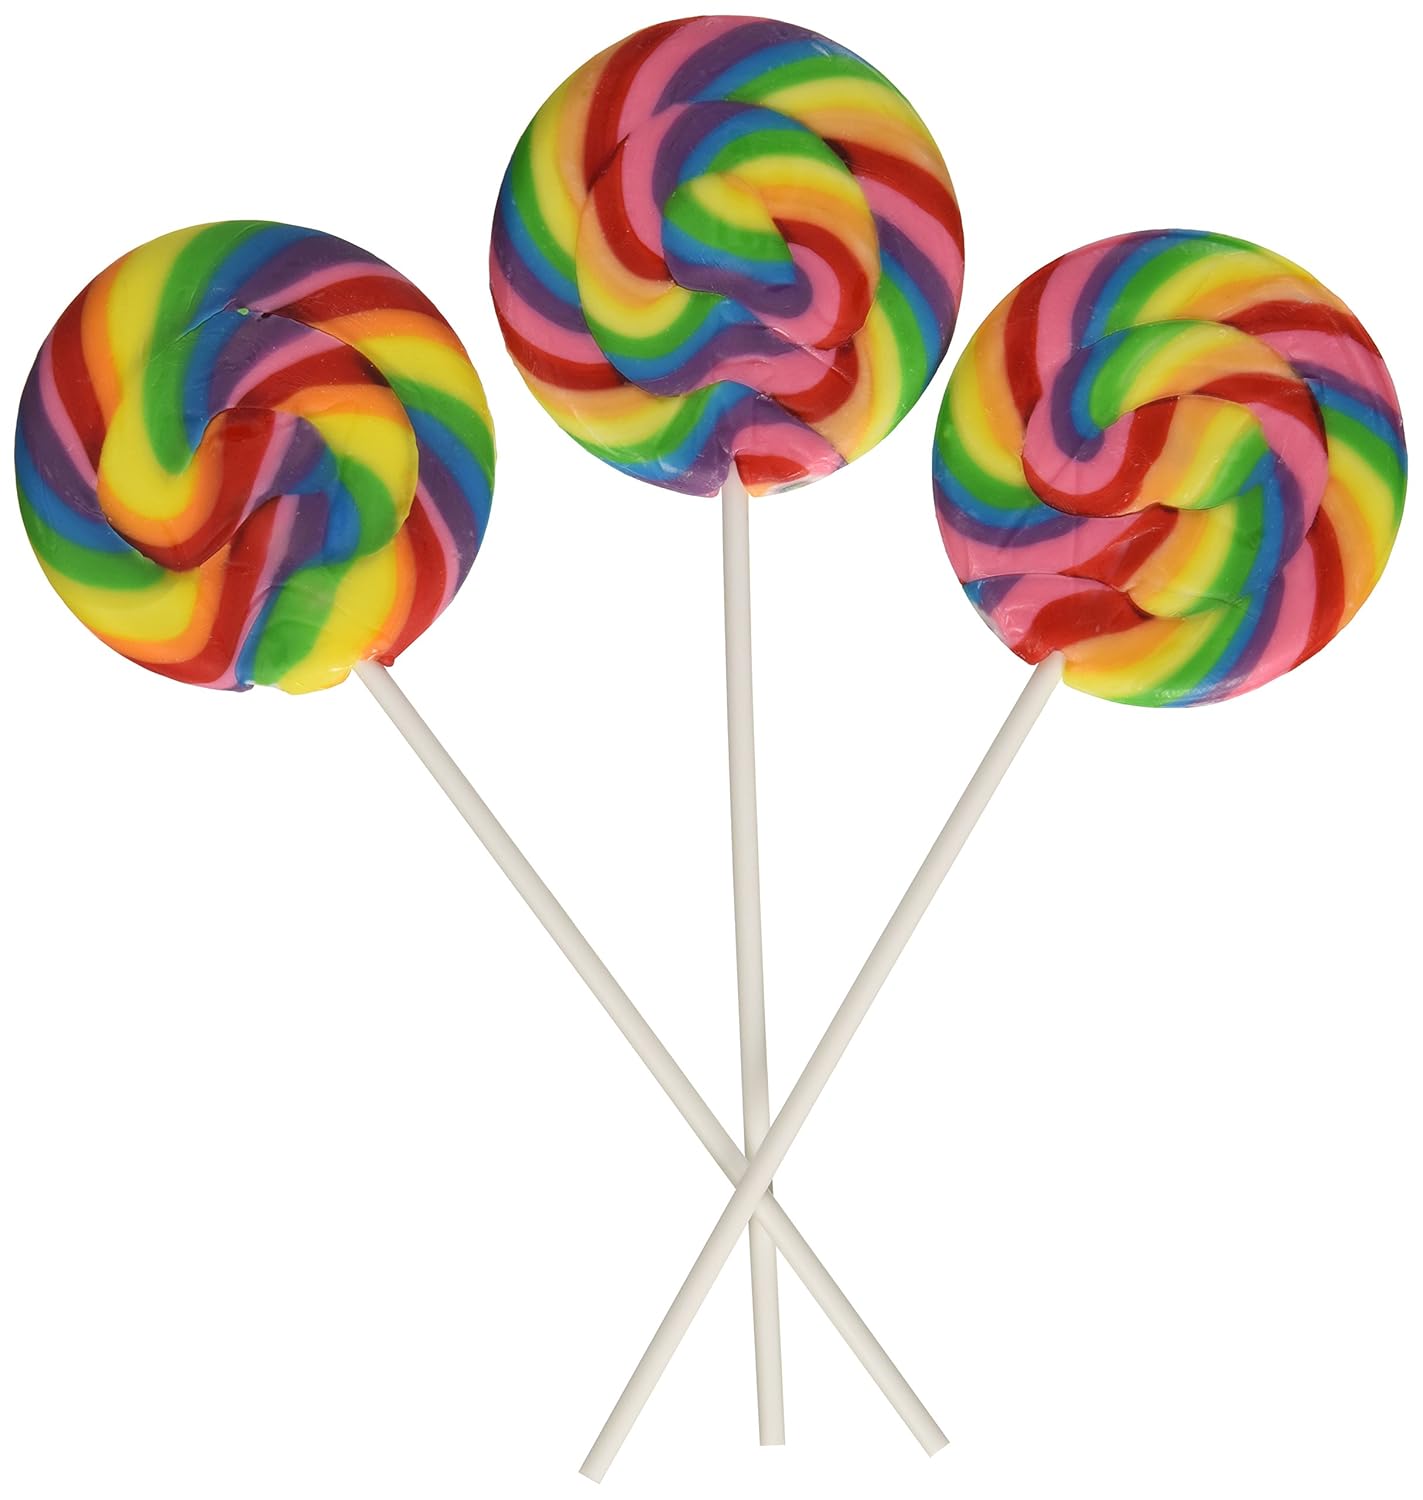
  • Low clear bowl or wide brimmed jar filled with skittles with bright colored whirly pops stuck in there which can be purchased from Amazon (Check this out from P is for Party...Beautiful Candy Buffet)


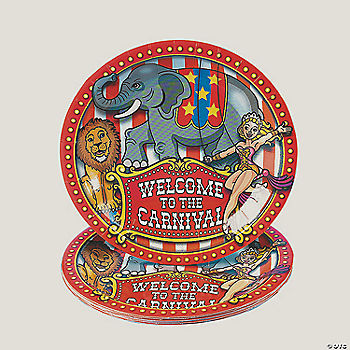
  • There are very cool plates and supplies at Oriental Trading called Under the Big Top and also check out amazon to buy paper products in bulk. (Google for a coupon code to save some money while you're at it.)


Carnival Games:


  • A group of friends and family members to help out at your booths.


  • Ring Toss (Take 25 or 36 plastic soda/water bottles and fill with sand. Put cap back on and spray paint them primary colors: red, blue, yellow. Set them up on a table or low platform in rows of 5x5 or 6x6 with a colored table cloth. Allow children to take a turn tossing the rings which can be pool diving rings.)

  • Pie Toss (You will need paper plates with shaving cream or whipped cream, an adult who wants to get messy, a hanging vinyl table cloth for backdrop and plastic chair.)

  • Bean Bag toss (Cut circles in cute piece of bright fabric or even a sheet and hang it it up -OR- using plywood DIY ... sew small squares and fill with beans or rice)

  • issing Booth (Fill a big jar with Hershey Kisses and have kids guess how many are in the jar! The prize: they win the whole jar.)

  • Clothes Pin Drop (Big Glass Jug...Try to drop wooden clothes pins straight down into jug)


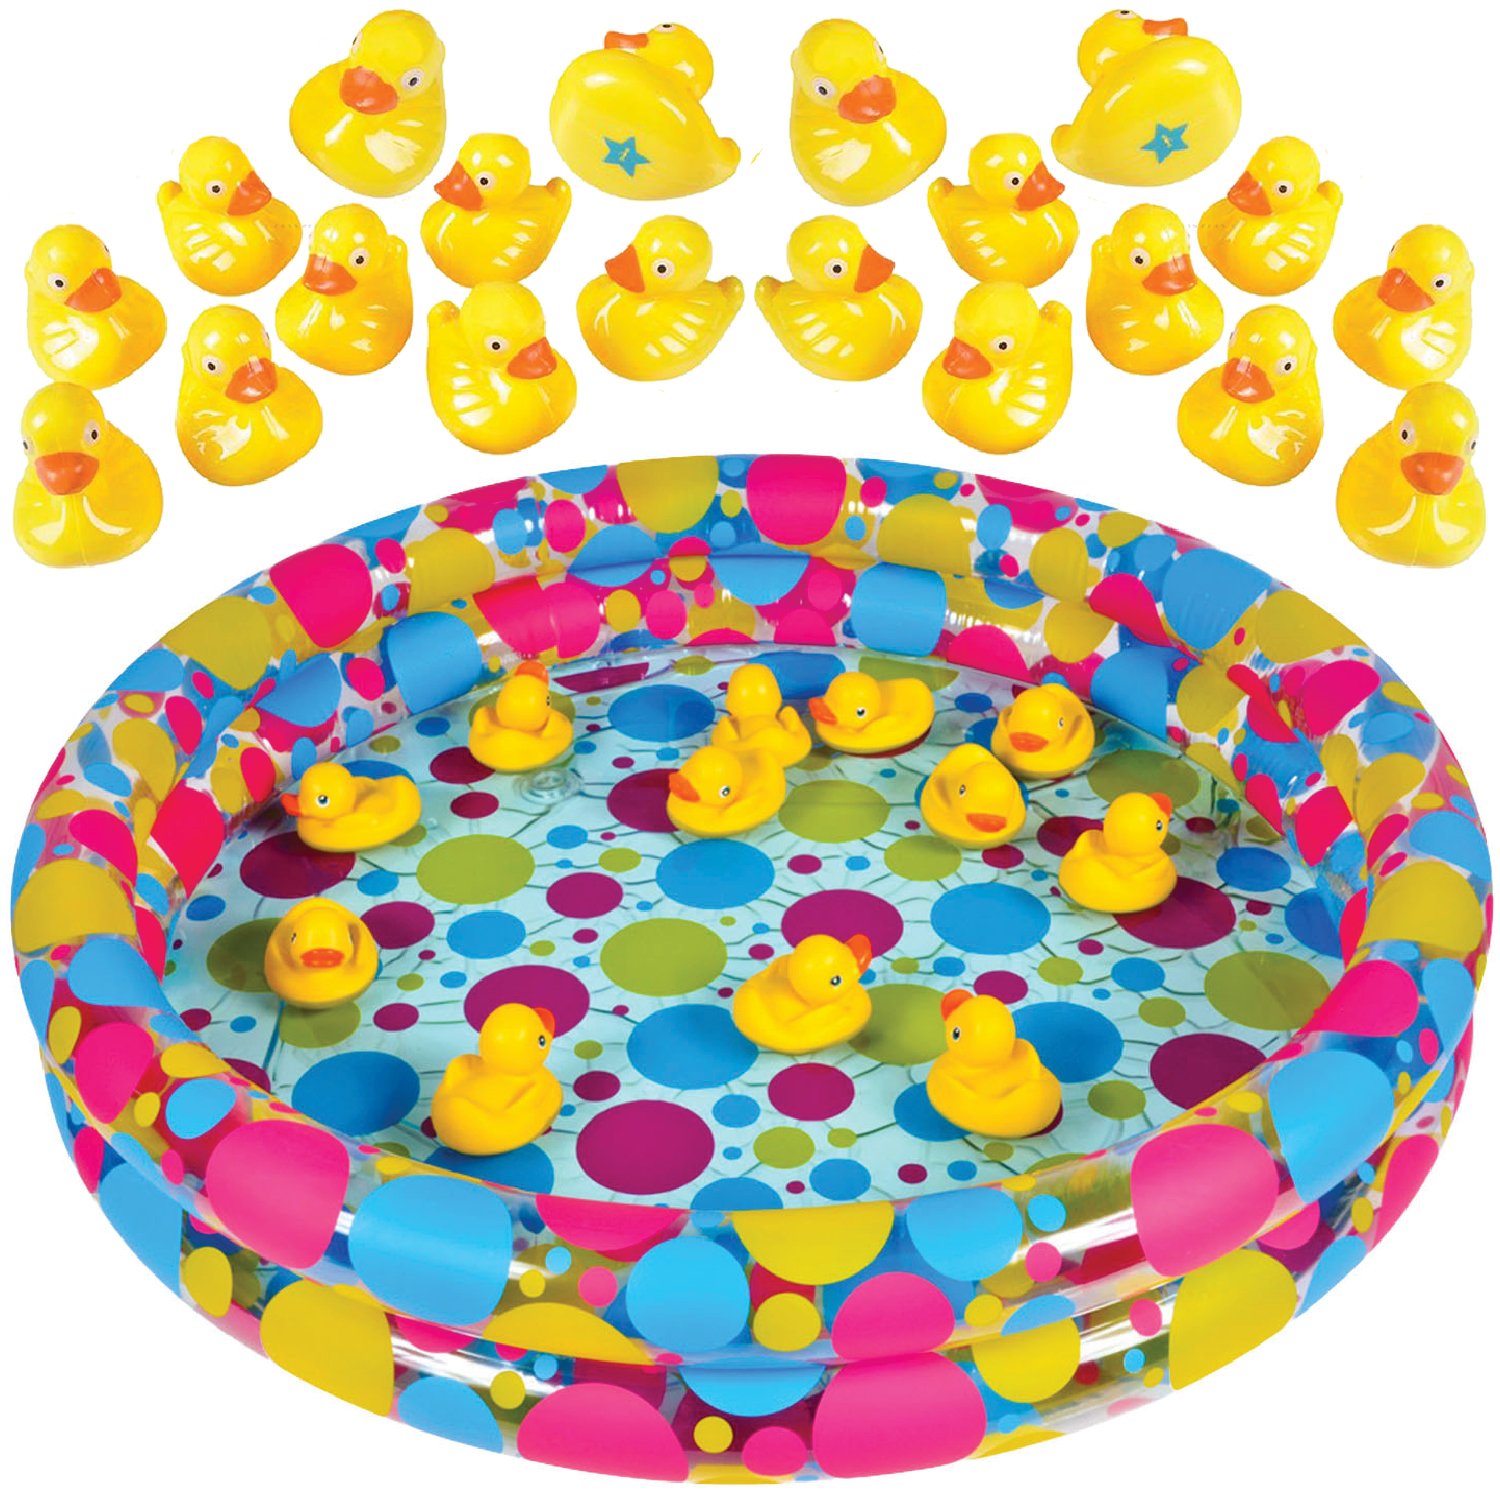
  • Fishing Game (Get a small kiddie pool. Then using plastic fish (which can really be plastic fish or it can be construction paper fish which are laminated) and hot glue magnets to them. Fill pool with half way with water. Using a craft store stick to avoid splinters make a fishing pole. Drill a small hole through stick and feed a string through and make a knot. Attach a magnet on the other end of the string. Go Fishing!!)

  • Spray Away (Get a foam board and spray paint it a primary color.  Paint golf tees with spray paint in another primary color. Stick tees in foam board at regular intervals in a straight line. Place set up on a table covered in primary colored table cloth and put ping pong balls on the tees.Then have kids stand back behind a line and spray the balls with water guns.)

  • Tattoo booth

  • Face Painting booth


  • Bounce House

  • Football Toss

  • Big blown up slide


  • Photo booth (Use Fridge/Appliance Cardboard Box. Cut off one side and top completely, spray paint both sides a dark color and cover the back in cute bright wrapping paper (like primary colored polka dots) for your photo background). Have silly props available for photos like clown nose, clown rainbow wig, feather boa, princess crown, funny glasses ect... Have an adult on standby to take kids photos. Give pictures of each kid as thank you cards.

  • Win tickets for games and take them to prize table to claim prizes.

  • Give kids paper bags with handle (like present style bags) decorated with their names or let them decorate them to collect their prizes. This will be their party favor.

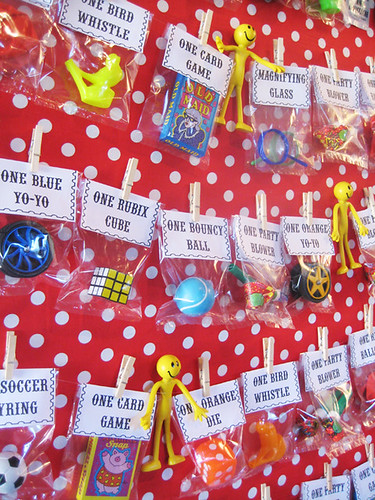
  • Prize Board (Cover foam board with bright wrapping paper or fabric, pin prizes to the board in little plastic bags with custom bag tags). Many prizes can be obtained from the dollar store, dollar section at target/walmart, oriental trading.com or a host of other sites out there for party favors. Online shoppers make sure to google for a coupon code for your store before you shop!


Location:


  • Backyard

  • Nice open park

  • School Yard

  • Church Parking Lot


Decorations: This is where you can go all out!!


  • Red and White Vertical Stripes scream Carnival. Look around for bold wide red and white striped fabric. I have seen it at IKEA
  • Tie strips of fabric (red, yellow, blue) to backs of chairs for color!
  • Hang crepe paper streamers straight down in primary colors from the door way entry to your carnival if it is at home.
  • Use bright colored table cloths in primary colors for tables and games.
  • Make your own ticket booth by using an appliance box and painting alternating red and white vertical stripes. Cut a rectangle window for your ticket taker using a box cutter.
  • Make your own game booths using card tables, fridge/appliance boxes which are spray painted, etc...


  • Hang red, yellow, blue crepe paper streamers from inside center of tent to edges and let them dangle down on 2-3 sides to look like a big top tent. Tie three red, yellow and blue balloons to inside center of tent.
  • No Sew custom pennant banner (DIY)
  • Balloon arch (red, yellow, blue...easy to make yourself with helium balloons) DIY You Tube
  • Make signs for games with carnival font (make signs on computer and print at print shop like FedEx Kinko's -OR- Print letter templates and hand cut letters out of felt or use diecut machine. Then, glue them to decorated poster board...have fun and let your kids help you too before the party) (Check these fonts Magic Jelly's 12 carnival fonts free download)


Hope these ideas help you have a super fun carnival party!! If you use any of these tips and post your party on your blog, I would love it if you could link back to this post. Thanks!

Photo Credits:

Carnival Food Popcorn Machine  Cotton Candy 

Monday, April 26, 2010

Cinco de Mayo Time!!!

It's Cinco de Mayo time! Here are some yummy treats to get you geared up for the big day!


Here are my recipes:
Blackened Mahi-Mahi (Fish Tacos)
Mango Salsa
Cilantro Lime Rice
Guacamole
Margarita Cupcakes

Enjoy!!

(Source: Shabby Princess Happy Go Lucky Scrapkit)


Sweet Pickles and Chocolate


I'm participating in these awesome Link Up parties:

~Monday:
sumossweetstuff
thegirlcreative

~Tuesday:
blessedwithgrace ~TMTT
allthesmallstuff ~ Tuesday's at the Table
Crazy Daisy ~Tuesday's Tastes
beautyandbedlam ~Tasty Tuesday

Wednesday, April 21, 2010

Twins Party Planning Time...Lego Indiana Jones Party

I am in total party planning mode! The twins have decided what theme they want this year and of course they want separate parties so this should be so much fun!

I love planning parties! I get all excited about it!

According to the twins, we will be having an All Girl Fancy Tea Party and an All Boy Lego Indiana Jones Party! I have been searching the web for inspiration. I have already made the invitaions using photoshop and a 4"x6" template for easy printing at a photolab.

I also talked to my sister the other day and she wants help with her son's party! I am in heaven LOL!!!!

We can just start with my little punk's party first...


Here is the Lego Indiana Jones invitation I made in photoshop. I used the image from the cover of the Wii game and a scrapbook paper from Shabby Princess (both available for free). All the fonts I downloaded on the web were for free as well.


So far I have decided to have a scavenger hunt including:
- a mummy station
-snake pit
-crocodile creek
-gross food feeling buffet (eyeballs, brains, scorpion guts, etc...)
-Lego station
-eating poisonous dates (chocolate of course) followed by healing elixir (blue wax candy bottles)
-the big bolder
-excavation in the sand box with bones, legos and gold coins
-And finishing up with finding the crystal skull.

I haven't determined the order of events yet but I am working on the little clue cards for each stop on the adventure. I will post them when I finish them all.

I am collecting décor pieces like burlap, map print fabric, scraps of canvas and rustic serving pieces. I am also in the process of making little bags for the boys like Indiana Jones wears following my Girl Power Purse Tutorial.

As far as food, I am planning to serve chocolate dipped pretzel rods, a small candy buffet with gummy snake, crocs, worms, eyeballs, etc... jello molded monkey brains, hotdogs, fruit tray, chips and cupcakes/cake. For the cupcakes, I will make chocolate and vanilla cupcakes with buttercream dipped in crushed graham crackers for sand effect. Then, I plan to make fondant/gum paste toppers of red snakes and lego pieces. For the cake, it will be a lego indiana jones theme using characters from lego indiana jones building set with a small waterfall, palm trees and rocks. 
 
I have been playing the game with my little punk a lot lately so I can get better ideas for the party plus it is pretty fun too LOL!!
 
Next... I will post my ideas for the fancy tea party for sweet pea!!

(Photo Credits- L to R: TwoCrazyCupcakes Design, Kotaku, Art of Dessert, NutsOnline, TheCakeStand, CandyWarehouse)

Saturday, April 17, 2010

Girl Power: Paper Butterfly Wall Decor (PB Inspired)

I fell in love with these cute little butterflies from Pottery Barn Kids. My lil sweet pea has a Pottery Barn Kids quilt in her room and she loves butterflies so I thought it would be perfect!


So I decided to give it a try:

I printed out a butterfly pattern on my two sided paper (Amy Butler K&Co).


I cut out the pattern inside the lines so they would now show on the final product. Using a boning tool, I folded up the wings to give it a 3-D look.


Then I flipped my butterfly over and applied double sided tape.


I found the perfect spot on the wall in my sweet pea's room and applied my beautiful swallowtail butterfly!


Here is what I did:

Supplies
2-sided scrap bookpaper (good quality thick paper)
scissors
boning tool
double sided tape

1) Choose coordinating scrapbook papers to match your room decor.

2) Print out the pattern. ***This pattern is set to print on 12x12 scrapbook paper so make sure to check the box "scale to fit" to your paper size if you are using 8.5x11 letter sized paper.

3) Cut out your butterflies right inside the lines so they do not show in final product.

4) Using a boning tool, gently fold up the two sides of the wings where they meet the body of the butterfly. This gives the 3-D appearance you are going for. It looks like the butterfly just landed on your wall.

5) Remove one side of double stick tape and apply to back of body of your butterfly.

6) Determine spot on your wall and peel and stick your butterfly right on.

They look really cute in a little cluster. You can reduce the print size of your image in print set-up area to make 3 different sizes like PB if you wish.

~ Enjoy :)

The Girl CreativeMaking

Wednesday, April 14, 2010

Gardening 101: It's Spring...Let's Plant Some Seeds!

Finally the weather has warmed up and it's time to sow/plant some seeds. The twins love gardening! I have some great memories of gardening with my dad while I was growing up.

We use this as a learning experience as well! Throw a little home school in while we are at it.

We read How a Seed Grows. And learned about the process in which a seed grows!

 How a Seed Grows (Let's-Read-and-Find-Out Science 1)

This year we are planting carrots, spinach, lettuce, basil, rosemary, cilantro, thai chili peppers and strawberries.

You must consult a zone map to see what zone your in. 

What are Zone Maps...you ask?

Gardeners need a way to compare their garden climates with the climate where a plant is known to grow well. That's why climate zone maps were created. Zone maps are tools that show where various permanent landscape plants can adapt. If you want a shrub, perennial, or tree to survive and grow year after year, the plant must tolerate year-round conditions in your area, such as the lowest and highest temperatures and the amount and distribution of rainfall. (from http://www.garden.org/)

This is a helpful website to determine your zone based on your zip code. It also has very useful information on many gardening subjects.

Sowing Seeds:
egg carton(s) and/or plastic strawberry carton(s)
skewer
scissors
vegetable friendly soil such as organic potting mix
seeds for planting in your zone
permanent marker
water
plastic wrap

1) Take your egg carton and cut it into to two parts: top and bottom.


2) Using the skewer, poke 2-3 small holes in the bottom of each egg cup (or whatever they're called LOL).


3) Using a small scoop/shovel, put soil in each egg cup. Then place inside the top of carton. This will hold/catch your water.


4) Poke a small hole in soil with finger and place a seed in each cup. Cover with ~1/4" soil. Remember to use your permanent marker to label your cartons.


5) To gently water your seeds, filling the top portion of the carton with a little water. The place the bottom portion (with the soil in it) of the carton on top of the water. Use room temperature water.  Plants do not like cold water. Cover your carton with plastic wrap to keep moisture level constant like a little greenhouse. Place in a sunny location where you will remember to water them like by the front door. ***Do not water them with a watering can. This will disturb your seeds. Check on them and continue to water them as mentioned above. If you notice just the top of the soil is dry, you can spray it with a spray bottle. REMOVE plastic wrap when seeds germinate or sprouts appear. Over watering is just as bad as under watering :)


6) This process can also be done with plastic strawberry cartons; however, do not cut the lid off. You can close the lid after watering to make your own little greenhouse. And the best part is it already comes with drainage holes. To water, place strawberry containers in a dish of room temperature water or better yet use styrofoam trays meat and vegetables come in at the supermarket.

Most seeds will germinate within 14 days!

Stayed tuned for Gardening 102 and more!

~Determining a location for your garden, preparing your soil, how to make easy raised beds
and container gardening. (I'm putting my degree to some use finally LOL)

Tuesday, April 13, 2010

Cinnamon Apple Crisp

Fireman had an airforce buddy stay here for one night until his flight home the next morning. Kinda last minute so I had to whip together dinner super fast. We had indoor grilled salmon (recipe coming soon), asparagus with hot pepper oil and balsamic glaze, roasted dutch potatoes with thyme, iron skillet rosemary dinner rolls and last but not least APPLE CRISP with natural vanilla bean ice cream!


Apple Crisp

2-3 large jonagold apples, peeled, cored, diced
2/3 cup sugar
1/4 tsp salt
1/2 tsp cinnamon
juice of 1/2 lemon

1 1/2 cup flour
1/3 cup sugar
1/3 cup brown sugar
1/2 tsp cinnamon
1/2 cup finely chopped pecans
1 stick butter melted

1) Preheat oven to 350 degrees F.
2) Toss diced apples with lemon juice in 8.5 x 11 rectangular baking dish.
3) With clean hands, combine diced apples, 2/3 cup sugar, 1/4 tsp salt and 1/2 tsp cinnamon.
4) In medium bowl, combine flour, sugar, brown sugar, cinnamon, and pecans. Drizzle with melted butter. Stir with a fork to combine.
5) Top apples with crumb topping.
6) Bake for 30 minutes in middle of oven.
7) Check and bake for an additional 10 minutes in top of oven until lightly brown and apples are bubbly.

Adapted from Pioneer Woman's Pear-Cinnamon Crisp.

***To make it extra yummy, allow your ice cream to soften slightly and stir in some cinnamon.


@BlessedWithGrace


Sumo Sweet Stuff


Beauty and Bedlam


Sumo Sweet Stuff

Girl Power: 30 minute purse for your little rockstar

Just some things I made last night....30 minute purse, twirly skirt, and applique tank for my lil sweet pea! My sewing machine has been upstairs collecting dust. Sweet Pea has been begging me to make her another purse for the longest!


I got some inspiration from a purse I made her awhile ago and also some very useful information
 from Skip To My Lou which I used in my tutorial as well.

I posted a short tutorial on how I did this here!

Here are the other pieces:

I have plans to add some gemstones to the guitar after I peel it off and put it on the right way LOL! Guess it was a little late and I didn't flip it before I traced it on the fusible webbing. Oh well!

Have a Terrific Tuesday!

The DIY Show OffDIY Day @ ASPTL
Photobucket

Saturday, April 10, 2010

Eggs, Eggs...Egg Salad!

I'm trying to use up all these eggs! I just made an egg salad sandwich on a potato roll that was soooo yummy!

Egg Salad (Serves 2)

4 hard cooked-eggs, chopped in big chunks, chilled
2-3 tbsp mayonnaise (I prefer Hellman's)
1 tsp dijion mustard
1 1/2 tsp onion, chopped (yellow or red for color)
1 tbsp celery, chopped
1/4 tsp fresh lemon juice
1/8 tsp salt and pepper, each or use 1/4 tsp seasoned salt
1/2 tsp fresh dill or parsley (Optional)

Combine all ingredients and serve on a nice soft roll or bread!

Friday, April 9, 2010

Family Feud!

Wish me luck...today my family and I are trying out for Family Feud! I'm nervous but really excited too!! My mom called two weeks ago to tell us she entered us to be on the show. Who would have thought we would be called for an interview!!

Fireman downloaded the Family Feud app for our iphones so we could practice!

If you are in Florida and want to be on the show click here!

Hope you have a Happy Friday and a Fun Weekend!

RRF: Berry Banana Extreme Smoothie and GP Converse Makeover


Robin Robin is 1 year old! I'm participating today for the first time! It is a link party and a giveway. Go check it out!

Here are my two posts for RRF:

Berry Banana Extreme Smoothie

Girl Power: Converse Makeover Part 1
Related Posts with Thumbnails