I also made this birthday greeting from Mickey Mouse. I decorated the room while FireMan and the twins explored our hotel. Boy were the kids happy when they saw this! I also requested a birthday phone call from Goofy on their "real" birthday the next morning. That was super cool!
Showing posts with label Twins. Show all posts
Wednesday, February 16, 2011
Disney Theme Birthday Banner and Letter from Mickey
Labels:
Birthday,
Silhouette,
So Crafty,
Twins
Wednesday, October 20, 2010
Monday, May 10, 2010
The Twins Make Chocolate Peanut Butter Drops...Mmmm!
I tried a new version of this recipe and these things taste and have almost the same texture as Reeses! Mmmm-mmmm-mmmm is all I have to say about these yummy morsels!!!
Add the natural peanut butter to your bowl. It is important to use natural peanut butter meaning peanut butter containing only peanuts and salt in the ingredients to get the Reese's like taste and texture. I think we used Smucker's Creamy Peanut Butter.
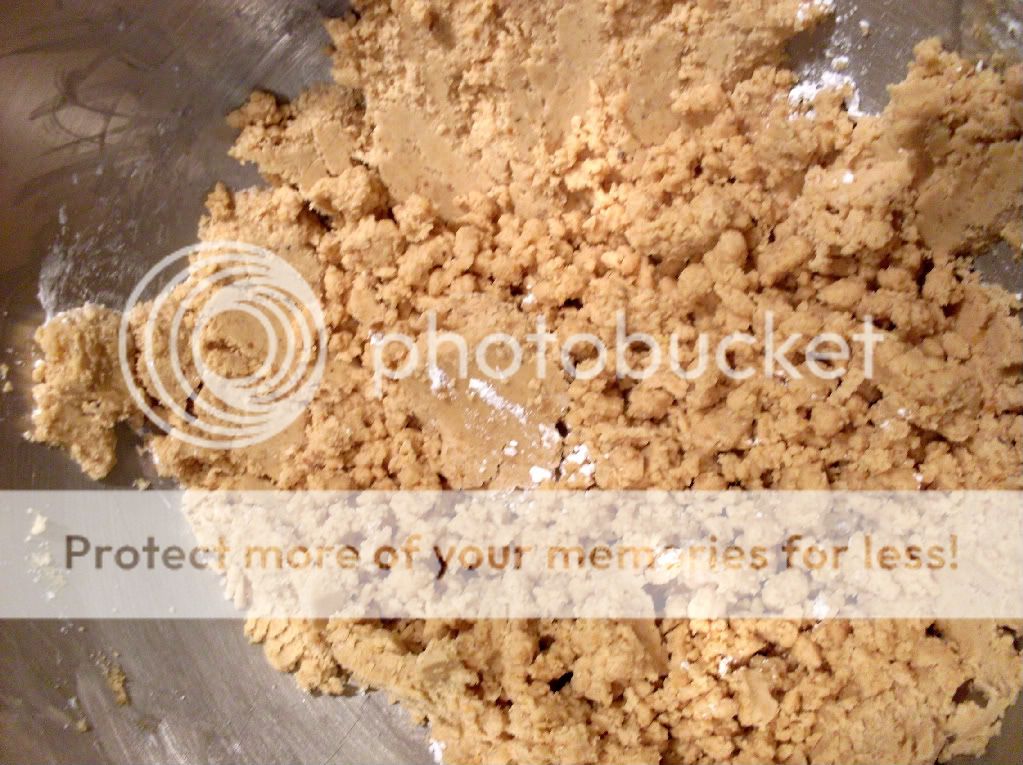
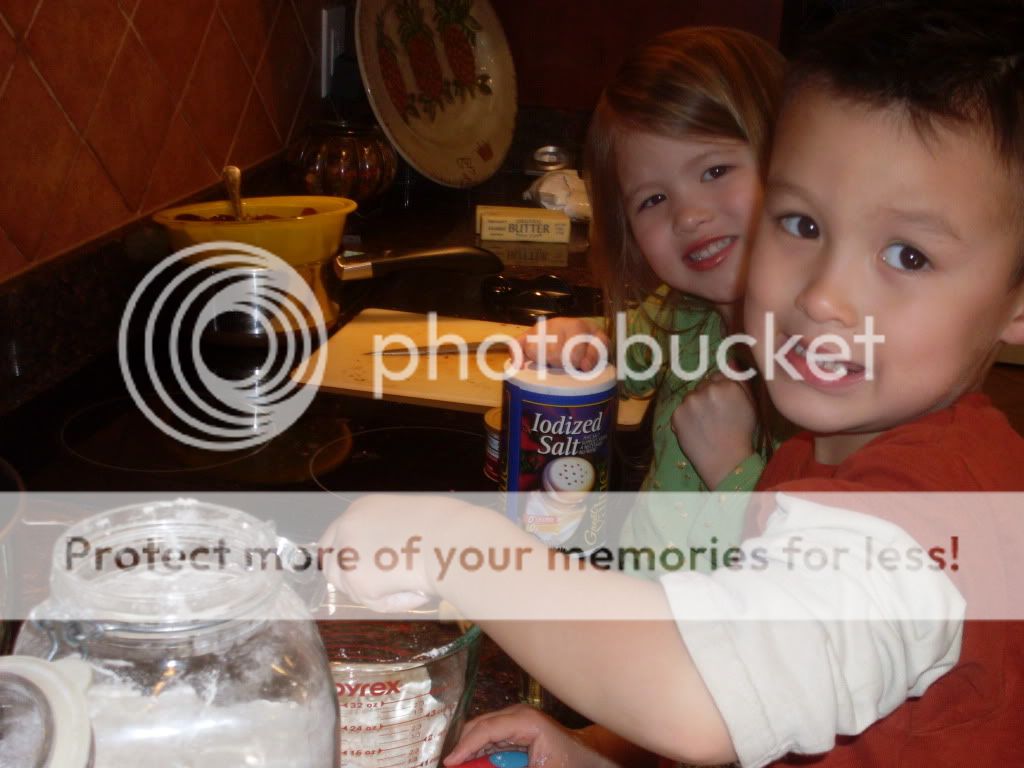
Add the confectioner's sugar, vanilla and salt. Looks like somebody got caught tasting the peanut butter. LOL!
Chocolate Peanut Butter Drops
Printable Recipe
2/3 cup Creamy NATURAL Peanut Butter
2 1/2 tbsp butter
1/4 tsp pure vanilla extract
1/8 salt
1 cup confectioner's sugar
12 oz semi sweet chocolate chips
2 tsp vegetable shortening
1) With a mixer, combine peanut butter, butter, vanilla, and salt on low.
2) Add confectioner's sugar and mix until well blended.
3) Add additional confectioner's sugar if needed.
4) Shape into 1" ball. Place on cookie sheet lined with parchment paper and put in freezer for 15-20 minutes.
5) Put chocolate chips and vegetable shortening in microwave safe bowl.
6) Microwave for 45 seconds on medium. Stir and repeat until completely smooth.
7) Working quickly so PB balls do not get soft, use a fork to dip PB drops into melted chocolate, rolling around to completely cover. Gently tap fork on edge of bowl to remove excess chocolate. Place on parchment paper. If you wish, you can use a toothpick to create a little swirl on top. Refrigerate or freeze. You may need to put chocolate back in microwave will dipping to re-melt and stir until smooth.
Add the confectioner's sugar, vanilla and salt. Looks like somebody got caught tasting the peanut butter. LOL!
Your mixture will be a little crumbly but when you form the peanut butter balls it will come together nicely.
Mmmm-mmmm...Look at all that peanut butter deliciousness !
Then, dip those babies in the melted chocolate and make yourself a cute lil swirl on top with a toothpick. I realize there are no dipping pictures. Dipping 20 PB drops with 4 1/2yr old twins plus using a camera was too much for me LOL!
After all that hard work you deserve to take a bite and enjoy! Ok well if you are like me...maybe 4 or 5 bites and enjoy!
Chocolate Peanut Butter Drops
Printable Recipe
2/3 cup Creamy NATURAL Peanut Butter
2 1/2 tbsp butter
1/4 tsp pure vanilla extract
1/8 salt
1 cup confectioner's sugar
12 oz semi sweet chocolate chips
2 tsp vegetable shortening
1) With a mixer, combine peanut butter, butter, vanilla, and salt on low.
2) Add confectioner's sugar and mix until well blended.
3) Add additional confectioner's sugar if needed.
4) Shape into 1" ball. Place on cookie sheet lined with parchment paper and put in freezer for 15-20 minutes.
5) Put chocolate chips and vegetable shortening in microwave safe bowl.
6) Microwave for 45 seconds on medium. Stir and repeat until completely smooth.
7) Working quickly so PB balls do not get soft, use a fork to dip PB drops into melted chocolate, rolling around to completely cover. Gently tap fork on edge of bowl to remove excess chocolate. Place on parchment paper. If you wish, you can use a toothpick to create a little swirl on top. Refrigerate or freeze. You may need to put chocolate back in microwave will dipping to re-melt and stir until smooth.
Wednesday, April 21, 2010
Twins Party Planning Time...Lego Indiana Jones Party
I am in total party planning mode! The twins have decided what theme they want this year and of course they want separate parties so this should be so much fun!
I love planning parties! I get all excited about it!
According to the twins, we will be having an All Girl Fancy Tea Party and an All Boy Lego Indiana Jones Party! I have been searching the web for inspiration. I have already made the invitaions using photoshop and a 4"x6" template for easy printing at a photolab.
I also talked to my sister the other day and she wants help with her son's party! I am in heaven LOL!!!!
We can just start with my little punk's party first...
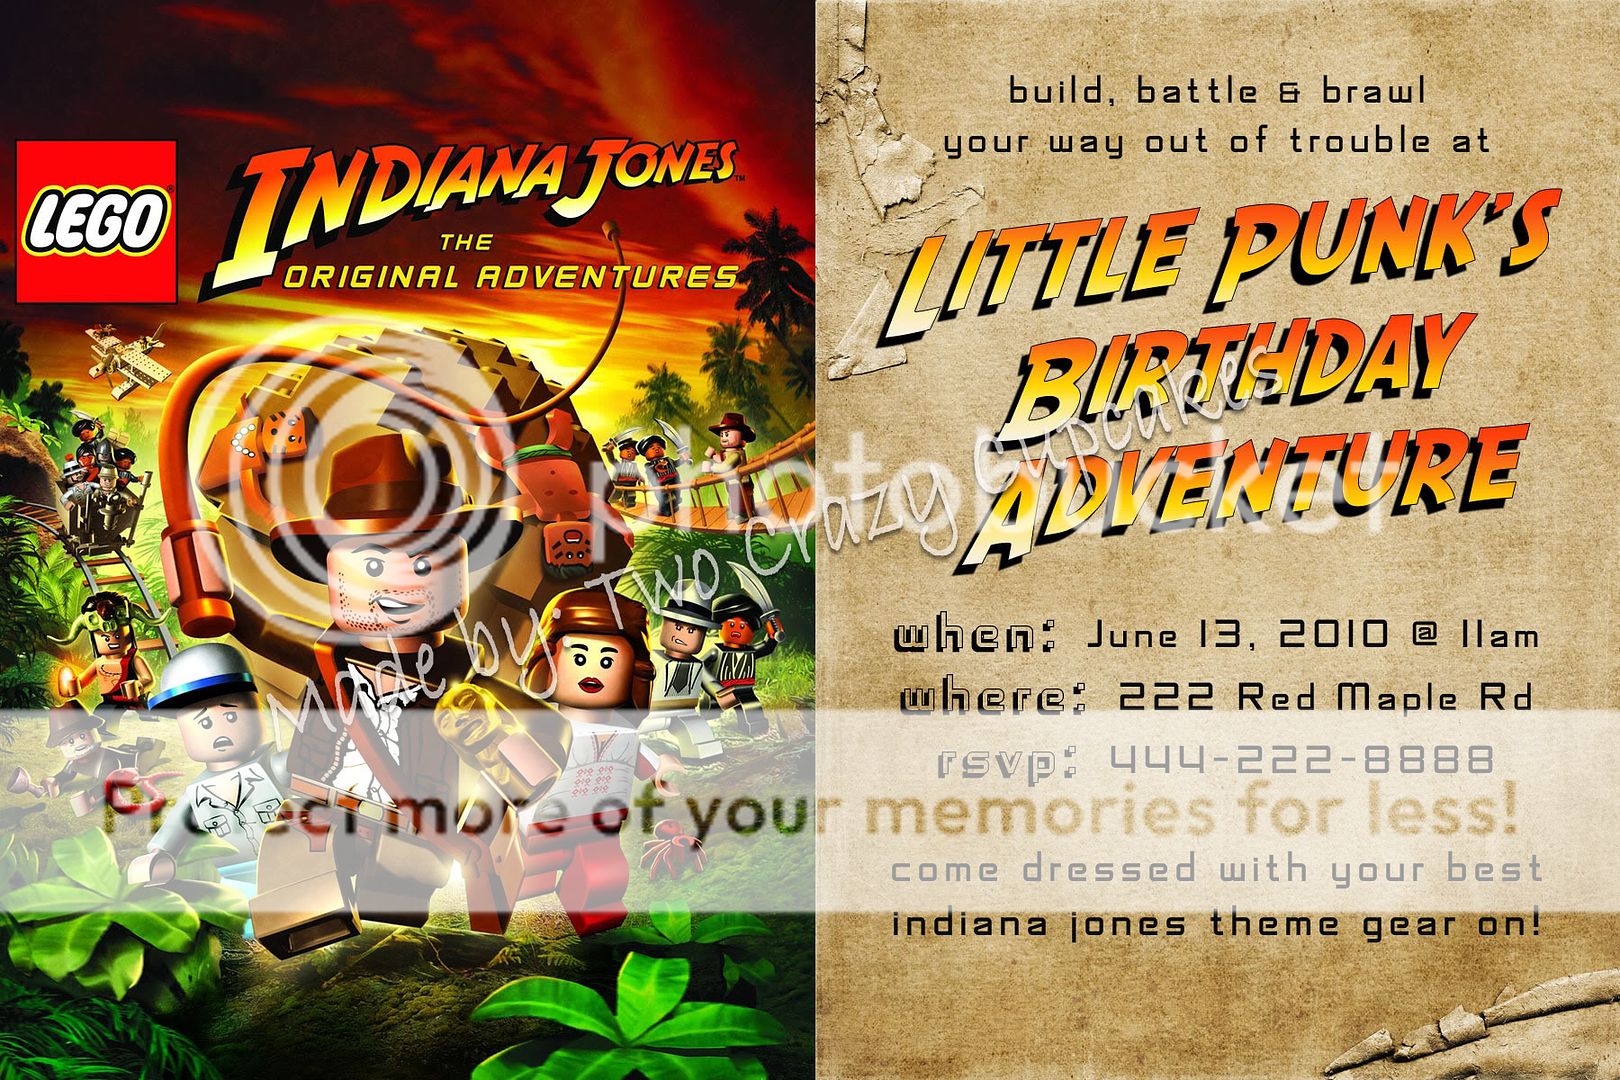
Here is the Lego Indiana Jones invitation I made in photoshop. I used the image from the cover of the Wii game and a scrapbook paper from Shabby Princess (both available for free). All the fonts I downloaded on the web were for free as well.
So far I have decided to have a scavenger hunt including:
- a mummy station
-snake pit
-crocodile creek
-gross food feeling buffet (eyeballs, brains, scorpion guts, etc...)
-Lego station
-eating poisonous dates (chocolate of course) followed by healing elixir (blue wax candy bottles)
-the big bolder
-excavation in the sand box with bones, legos and gold coins
-And finishing up with finding the crystal skull.
I haven't determined the order of events yet but I am working on the little clue cards for each stop on the adventure. I will post them when I finish them all.
I am collecting décor pieces like burlap, map print fabric, scraps of canvas and rustic serving pieces. I am also in the process of making little bags for the boys like Indiana Jones wears following my Girl Power Purse Tutorial.
As far as food, I am planning to serve chocolate dipped pretzel rods, a small candy buffet with gummy snake, crocs, worms, eyeballs, etc... jello molded monkey brains, hotdogs, fruit tray, chips and cupcakes/cake. For the cupcakes, I will make chocolate and vanilla cupcakes with buttercream dipped in crushed graham crackers for sand effect. Then, I plan to make fondant/gum paste toppers of red snakes and lego pieces. For the cake, it will be a lego indiana jones theme using characters from lego indiana jones building set with a small waterfall, palm trees and rocks.
I have been playing the game with my little punk a lot lately so I can get better ideas for the party plus it is pretty fun too LOL!!
Next... I will post my ideas for the fancy tea party for sweet pea!!
(Photo Credits- L to R: TwoCrazyCupcakes Design, Kotaku, Art of Dessert, NutsOnline, TheCakeStand, CandyWarehouse)
I love planning parties! I get all excited about it!
According to the twins, we will be having an All Girl Fancy Tea Party and an All Boy Lego Indiana Jones Party! I have been searching the web for inspiration. I have already made the invitaions using photoshop and a 4"x6" template for easy printing at a photolab.
I also talked to my sister the other day and she wants help with her son's party! I am in heaven LOL!!!!
We can just start with my little punk's party first...
Here is the Lego Indiana Jones invitation I made in photoshop. I used the image from the cover of the Wii game and a scrapbook paper from Shabby Princess (both available for free). All the fonts I downloaded on the web were for free as well.
So far I have decided to have a scavenger hunt including:
- a mummy station
-snake pit
-crocodile creek
-gross food feeling buffet (eyeballs, brains, scorpion guts, etc...)
-Lego station
-eating poisonous dates (chocolate of course) followed by healing elixir (blue wax candy bottles)
-the big bolder
-excavation in the sand box with bones, legos and gold coins
-And finishing up with finding the crystal skull.
I haven't determined the order of events yet but I am working on the little clue cards for each stop on the adventure. I will post them when I finish them all.
I am collecting décor pieces like burlap, map print fabric, scraps of canvas and rustic serving pieces. I am also in the process of making little bags for the boys like Indiana Jones wears following my Girl Power Purse Tutorial.
As far as food, I am planning to serve chocolate dipped pretzel rods, a small candy buffet with gummy snake, crocs, worms, eyeballs, etc... jello molded monkey brains, hotdogs, fruit tray, chips and cupcakes/cake. For the cupcakes, I will make chocolate and vanilla cupcakes with buttercream dipped in crushed graham crackers for sand effect. Then, I plan to make fondant/gum paste toppers of red snakes and lego pieces. For the cake, it will be a lego indiana jones theme using characters from lego indiana jones building set with a small waterfall, palm trees and rocks.
I have been playing the game with my little punk a lot lately so I can get better ideas for the party plus it is pretty fun too LOL!!
Next... I will post my ideas for the fancy tea party for sweet pea!!
(Photo Credits- L to R: TwoCrazyCupcakes Design, Kotaku, Art of Dessert, NutsOnline, TheCakeStand, CandyWarehouse)
Tuesday, April 13, 2010
Girl Power: 30 minute purse for your little rockstar
Just some things I made last night....30 minute purse, twirly skirt, and applique tank for my lil sweet pea! My sewing machine has been upstairs collecting dust. Sweet Pea has been begging me to make her another purse for the longest!
I got some inspiration from a purse I made her awhile ago and also some very useful information
from Skip To My Lou which I used in my tutorial as well.
I posted a short tutorial on how I did this here!
Here are the other pieces:
I have plans to add some gemstones to the guitar after I peel it off and put it on the right way LOL! Guess it was a little late and I didn't flip it before I traced it on the fusible webbing. Oh well!
Have a Terrific Tuesday!
Labels:
Girl Power,
Link Party,
So Crafty,
Twins
Wednesday, March 31, 2010
Wordless Wednesday-Sweet Pea at Flower and Garden Festival
Wordless Wednesday...well sort of! My Little Sweet Pea at Epcot's Flower and Garden Festival. She is all about that purse these days her Auntie Von made for her! She is growing up so fast right before my eyes. Love you Sweet Pea!
Monday, March 29, 2010
Martha Monday: Red Velvet Cupcakes
The twins helped me make another cupcake for our family birthday dinner. They were Martha's Red Velvet Cupcakes from page 30 in Martha's Cupcake Book (Martha Stewart's Cupcakes: 175 Inspired Ideas for Everyone's Favorite Treat
).
2 1/2 cups cake flour (not self- rising), sifted
2 tablespoons unsweetened Dutch-process cocoa powder
1 teaspoon salt
1 1/2 cups sugar
1 1/2 cups vegetable oil
2 large eggs, room temperature
1/2 teaspoon red gel-paste food color
1 teaspoon pure vanilla extract
1 cup buttermilk
1 1/2 teaspoons baking soda
2 teaspoons distilled white vinegar
1) Preheat oven to 350 degrees. Line standard muffin tins with paper liners. Whisk together cake flour, cocoa, and salt.
2) With an electric mixer on medium-high speed, whisk together sugar and oil until combined. Add eggs, one at a time, beating until each is incorporated, scraping down sides of bowl as needed. Mix in food color and vanilla.
3) Reduce speed to low. Add flour mixture in three batches, alternating with two additions of buttermilk, and whisking well after each. Stir together the baking soda and vinegar in a small bowl (it will foam); add mixture to the batter, and mix on medium speed 10 seconds.
4) Divide batter evenly among lined cups, filling each three-quarters full. Bake, rotating tins halfway through, until a cake tester inserted in centers comes out clean, about 20 minutes. Transfer tins to wire racks to cool completely before removing cupcakes. Cupcakes can be stored overnight at room temperature, or frozen up to 2 months, in airtight containers.
5) To finish, use a small offset spatula to spread cupcakes with frosting. Refrigerate up to 3 days in airtight containers; bring to room temperature before serving.
12 ounces cream cheese, room temperature
1 pound (4 cups) confectioners' sugar, sifted
3/4 teaspoon pure vanilla extract
1) Beat butter and cream cheese with a mixer on medium-high speed until fluffy, 2 to 3 minutes.
2) Reduce speed to low. Add sugar, 1 cup at a time, and then vanilla; mix until smooth.
3) Frosting can be refrigerated for up to 3 days; before using, bring to room temperature, and beat until smooth.
The twins LOVE cooking and baking! Some of their favorite parts were adding the baking soda to the vinegar...fizz fizz, turning the cupcakes RED and of course operating the kitchenaid mixer!!
Makes 24 standard cupcakes.
2 1/2 cups cake flour (not self- rising), sifted
2 tablespoons unsweetened Dutch-process cocoa powder
1 teaspoon salt
1 1/2 cups sugar
1 1/2 cups vegetable oil
2 large eggs, room temperature
1/2 teaspoon red gel-paste food color
1 teaspoon pure vanilla extract
1 cup buttermilk
1 1/2 teaspoons baking soda
2 teaspoons distilled white vinegar
1) Preheat oven to 350 degrees. Line standard muffin tins with paper liners. Whisk together cake flour, cocoa, and salt.
2) With an electric mixer on medium-high speed, whisk together sugar and oil until combined. Add eggs, one at a time, beating until each is incorporated, scraping down sides of bowl as needed. Mix in food color and vanilla.
3) Reduce speed to low. Add flour mixture in three batches, alternating with two additions of buttermilk, and whisking well after each. Stir together the baking soda and vinegar in a small bowl (it will foam); add mixture to the batter, and mix on medium speed 10 seconds.
4) Divide batter evenly among lined cups, filling each three-quarters full. Bake, rotating tins halfway through, until a cake tester inserted in centers comes out clean, about 20 minutes. Transfer tins to wire racks to cool completely before removing cupcakes. Cupcakes can be stored overnight at room temperature, or frozen up to 2 months, in airtight containers.
5) To finish, use a small offset spatula to spread cupcakes with frosting. Refrigerate up to 3 days in airtight containers; bring to room temperature before serving.
8 ounces (2 sticks) unsalted butter, room temperature
12 ounces cream cheese, room temperature
1 pound (4 cups) confectioners' sugar, sifted
3/4 teaspoon pure vanilla extract
1) Beat butter and cream cheese with a mixer on medium-high speed until fluffy, 2 to 3 minutes.
2) Reduce speed to low. Add sugar, 1 cup at a time, and then vanilla; mix until smooth.
3) Frosting can be refrigerated for up to 3 days; before using, bring to room temperature, and beat until smooth.
Wednesday, March 3, 2010
The Twins Make Pancakes (Organic)
The twins LOVE pancakes. At our house, we eat them a couple days a week.
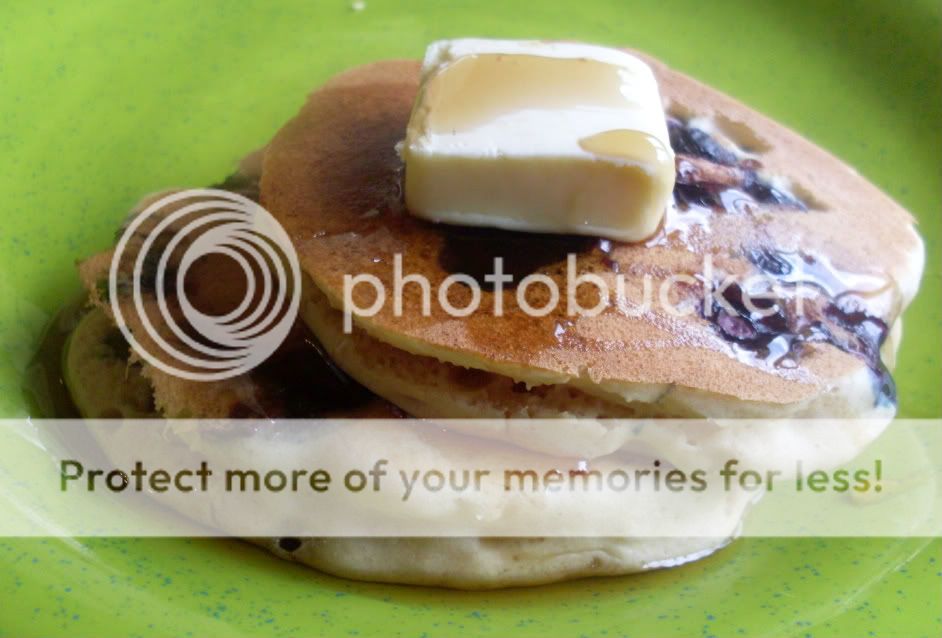
The recipe I normally follow is more less a take from Alton Brown's recipe. You can keep it for up to 3 months in an airtight container. There is no artificial stuff in there and you can use organic ingredients like us if you choose. SEE bottom of post for our recipe. **They are very tasty so we don't normally put more butter on them after cooking but it looked good for the picture.
*** See bottom of post for a few helpful tips!!

Printable Recipe & Tips
INSTANT PANCAKES RECIPE:
Mix Ingredients:
6 cups unbleached unbromated flour
1 1/2 teaspoons baking soda (check expiration date first)
3 teaspoons baking powder
1 tablespoon kosher salt
2 tablespoons sugar
Directions:
1) Combine all of the ingredients in a lidded container. Shake to mix.
2) Use the mix within 3 months.
"INSTANT" PANCAKES:
2 natural or organic eggs, separated
2 cups organic buttermilk (we use fat free) ***(No buttermilk...that's ok...See tips below)
4 tablespoons melted organic butter
2 cups "Instant" Pancake Mix, recipe above
organic butter or oil, for greasing the pan
Optional mixins:
-2 cups organic fruit such as blueberries or strawberries
-chocolate chips (mini works great)
-bananas sliced thin/walnuts- or- granola
-extra fiber
Serve with "REAL" organic maple syrup
1) Heat an electric griddle or frying pan to 350-375 degrees F. Optional: Heat oven to 200 degrees F for holding pancakes.
2) Whisk together the egg whites and the buttermilk in a small bowl. In another bowl, whisk the egg yolks with the melted butter.
3) Combine the buttermilk mixture with the egg yolk mixture in a large mixing bowl and whisk together until thoroughly combined. Pour the liquid ingredients on top of the pancake mix. Using a whisk, mix the batter just enough to bring it together. Don't try to work all the lumps out.
4) Check to see that the griddle is hot by placing a few drops of water onto to the griddle. The griddle is ready if the water dances across the surface.
5) Lightly grease the griddle with oil or butter. Wipe off thoroughly with a paper towel. (No butter should be visible.)
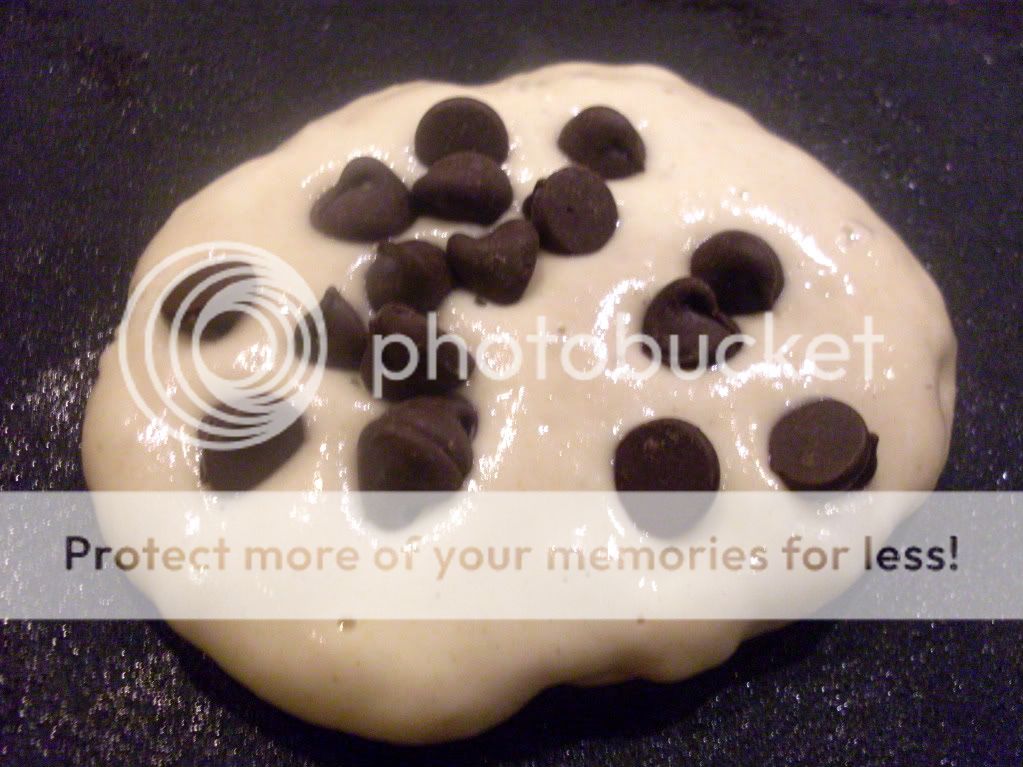
6) Gently ladle 1/4 cup of the pancake batter onto the griddle and sprinkle on fruit or chocolate chips, if desired. When bubbles begin to appear, edges set around the pancake and the griddle-side of the cake is golden, gently flip the pancakes. Continue to cook 2 to 3 minutes or until the pancake is set.
Serve immediately or remove to a towel-lined baking sheet and cover with a towel. Can hold in a warm oven for 20 to 30 minutes.
Yield: 12 pancakes
TIPS:
*** Sometimes if I know we will be busy during the week I make several batches. Then, place the pancakes individually on baking sheets in freezer. When they are lightly frozen, put them together in a container in freezer. This way they do not stick together and you can grab them to pop in toaster oven or microwave in a hurry! You have healthly organic pancakes at your fingertips!
***No Buttermilk...that's ok! Just substitute 1 cup buttermilk for 1 cup yogurt OR 1 tablespoon lemon juice or vinegar plus enough milk to make 1 cup.
***I also use buttermilk for baking and cooking but not ALL the time so I freeze it in individual portions like 1-2 cups. Pop it in fridge the night before to thaw and I'm good to go. I would not suggest this if you are a buttermilk "drinker" however! Can be frozen for up to 3 months.
The recipe I normally follow is more less a take from Alton Brown's recipe. You can keep it for up to 3 months in an airtight container. There is no artificial stuff in there and you can use organic ingredients like us if you choose. SEE bottom of post for our recipe. **They are very tasty so we don't normally put more butter on them after cooking but it looked good for the picture.
*** See bottom of post for a few helpful tips!!
Printable Recipe & Tips
INSTANT PANCAKES RECIPE:
Mix Ingredients:
6 cups unbleached unbromated flour
1 1/2 teaspoons baking soda (check expiration date first)
3 teaspoons baking powder
1 tablespoon kosher salt
2 tablespoons sugar
Directions:
1) Combine all of the ingredients in a lidded container. Shake to mix.
2) Use the mix within 3 months.
"INSTANT" PANCAKES:
2 natural or organic eggs, separated
2 cups organic buttermilk (we use fat free) ***(No buttermilk...that's ok...See tips below)
4 tablespoons melted organic butter
2 cups "Instant" Pancake Mix, recipe above
organic butter or oil, for greasing the pan
Optional mixins:
-2 cups organic fruit such as blueberries or strawberries
-chocolate chips (mini works great)
-bananas sliced thin/walnuts- or- granola
-extra fiber
Serve with "REAL" organic maple syrup
1) Heat an electric griddle or frying pan to 350-375 degrees F. Optional: Heat oven to 200 degrees F for holding pancakes.
2) Whisk together the egg whites and the buttermilk in a small bowl. In another bowl, whisk the egg yolks with the melted butter.
3) Combine the buttermilk mixture with the egg yolk mixture in a large mixing bowl and whisk together until thoroughly combined. Pour the liquid ingredients on top of the pancake mix. Using a whisk, mix the batter just enough to bring it together. Don't try to work all the lumps out.
4) Check to see that the griddle is hot by placing a few drops of water onto to the griddle. The griddle is ready if the water dances across the surface.
5) Lightly grease the griddle with oil or butter. Wipe off thoroughly with a paper towel. (No butter should be visible.)
6) Gently ladle 1/4 cup of the pancake batter onto the griddle and sprinkle on fruit or chocolate chips, if desired. When bubbles begin to appear, edges set around the pancake and the griddle-side of the cake is golden, gently flip the pancakes. Continue to cook 2 to 3 minutes or until the pancake is set.
Serve immediately or remove to a towel-lined baking sheet and cover with a towel. Can hold in a warm oven for 20 to 30 minutes.
Yield: 12 pancakes
TIPS:
*** Sometimes if I know we will be busy during the week I make several batches. Then, place the pancakes individually on baking sheets in freezer. When they are lightly frozen, put them together in a container in freezer. This way they do not stick together and you can grab them to pop in toaster oven or microwave in a hurry! You have healthly organic pancakes at your fingertips!
***No Buttermilk...that's ok! Just substitute 1 cup buttermilk for 1 cup yogurt OR 1 tablespoon lemon juice or vinegar plus enough milk to make 1 cup.
***I also use buttermilk for baking and cooking but not ALL the time so I freeze it in individual portions like 1-2 cups. Pop it in fridge the night before to thaw and I'm good to go. I would not suggest this if you are a buttermilk "drinker" however! Can be frozen for up to 3 months.
Labels:
Alton Brown,
Breakfast,
Link Party,
Tips,
Twins
Monday, March 1, 2010
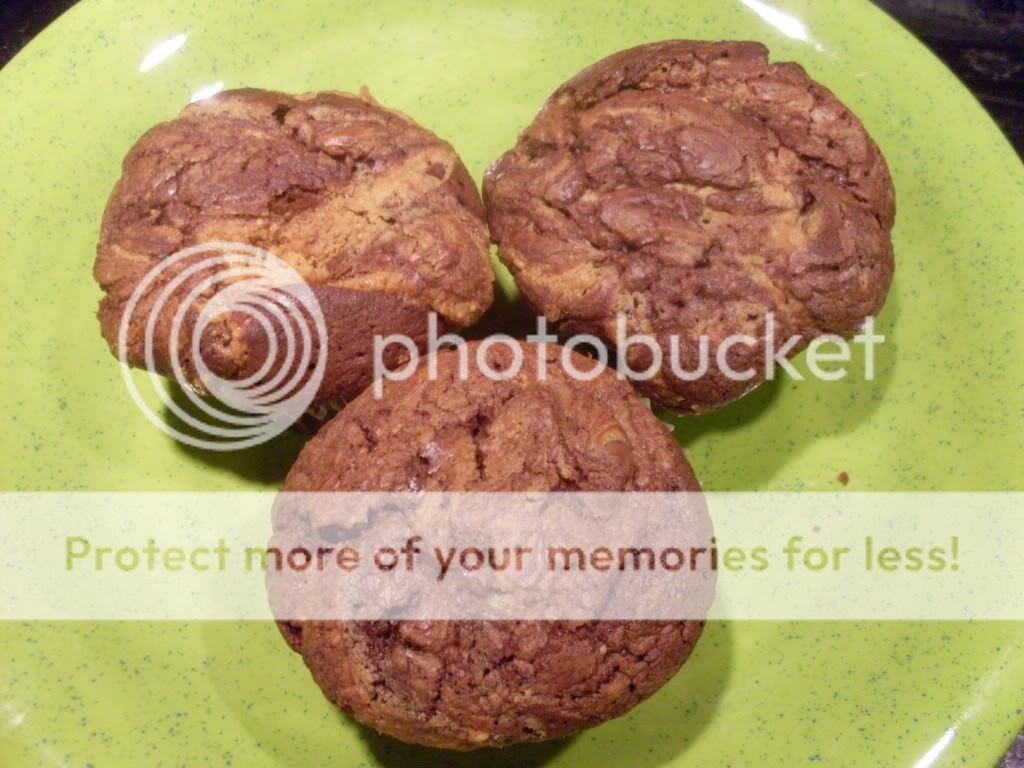
Martha Monday: Peanut Butter-Filled Chocolate Cupcakes
The twins made Peanut Butter-Filled Chocolate Cupcakes from Page 118 of Martha Stewart's Cupcakes Book (Martha Stewart's Cupcakes: 175 Inspired Ideas for Everyone's Favorite Treat
).
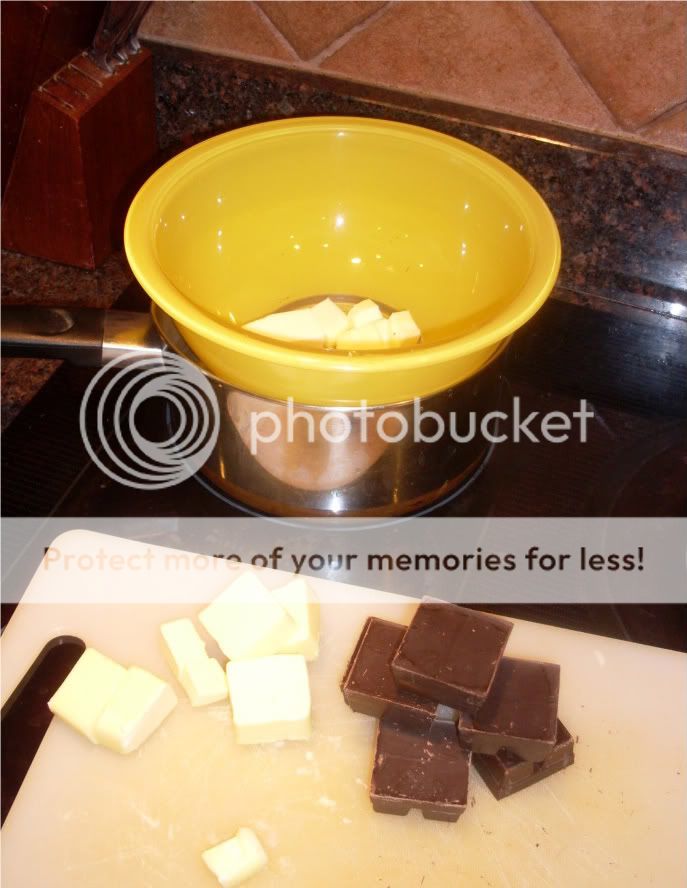
Melt chocolate and unsalted butter over double boiler .
Fold whipped cream into peanut butter mixture until smooth.
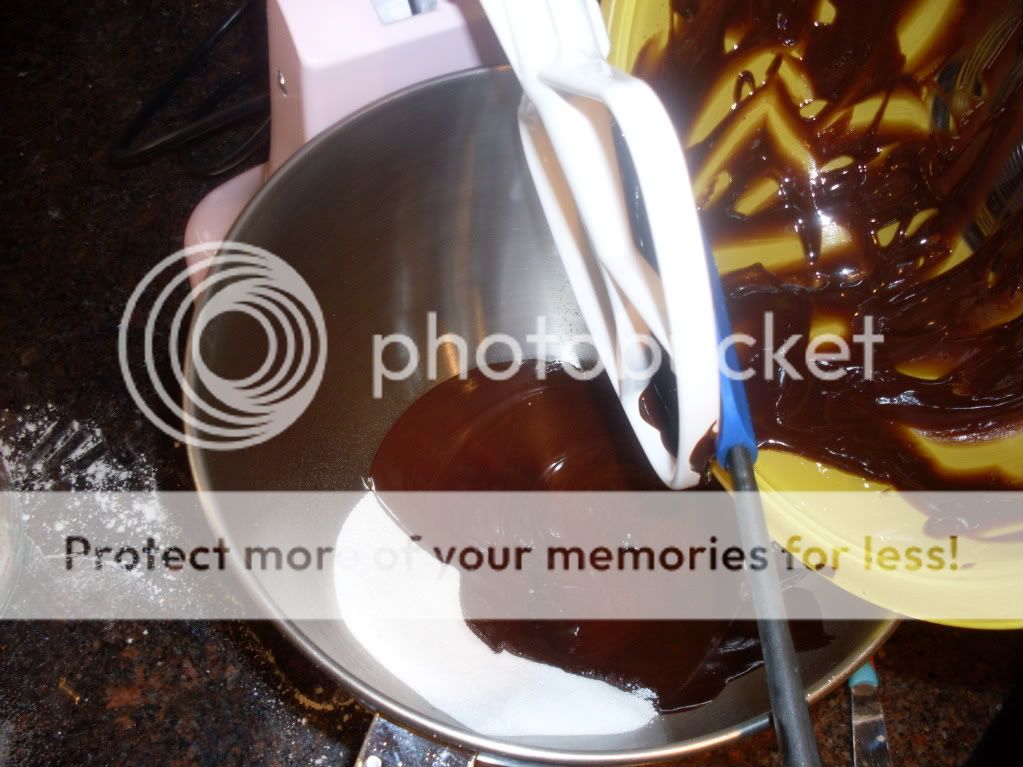
Combine chocolate mixture with sugar.
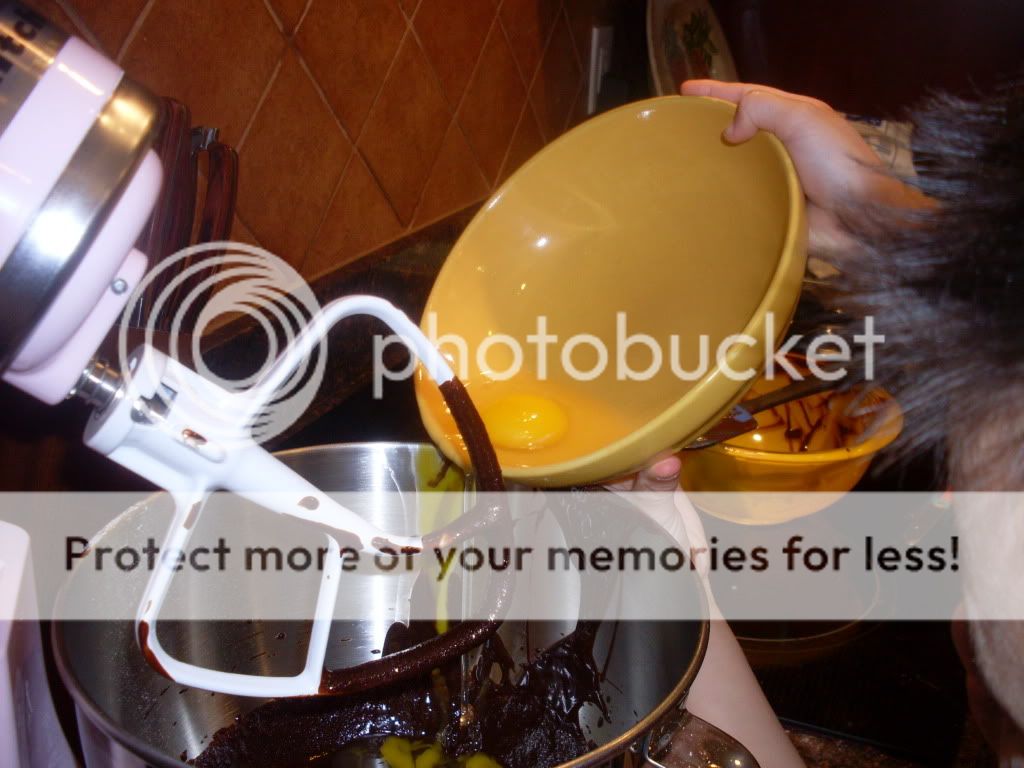
Add eggs and combine until smooth. Then add vanilla.
Combine flour, baking powder and salt.
Add flour mixture and stir.
Now for peanut butter filling. Melt butter and combine with confectioner's sugar.
Add peanut butter, salt, and vanilla. Stir to combine.
Add 2 tablespoons of chocolate mix to cupcake liner. Followed by 1 tablespoon of peanut butter filling. Top with 1 tablespoon of chocolate mix and 1 teaspoon of peanut butter filling. Use a chopstick or skewer to gently swirl "TOP" only. Bake at 325 degrees for approx 30 minutes.
Frosting:
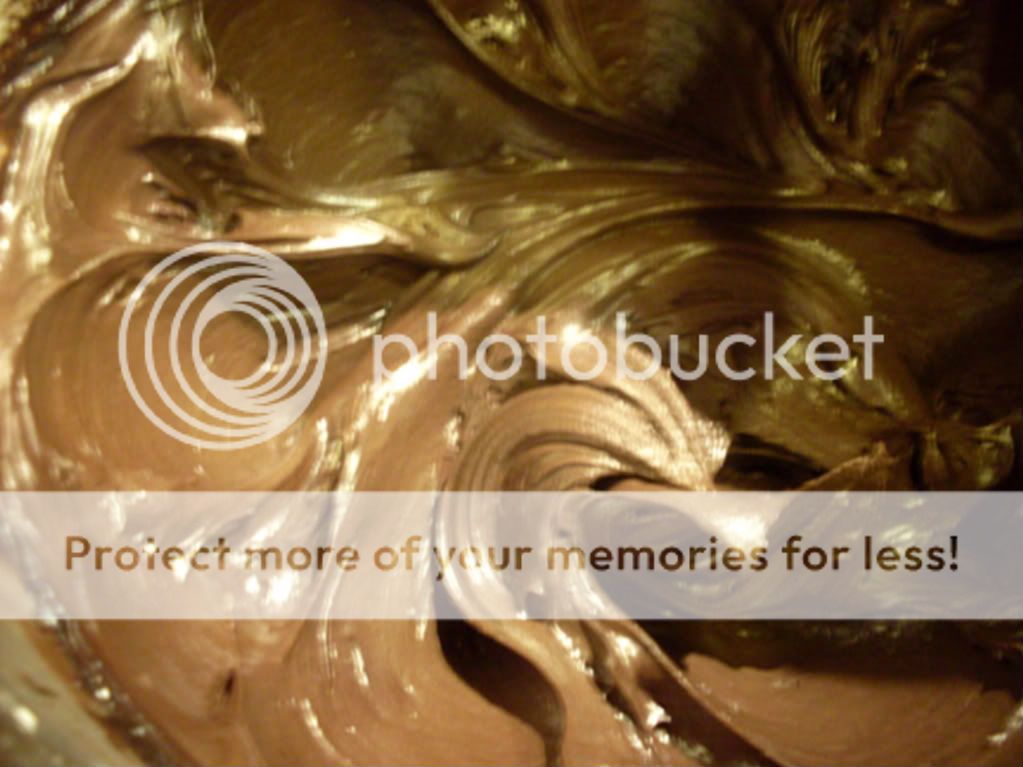
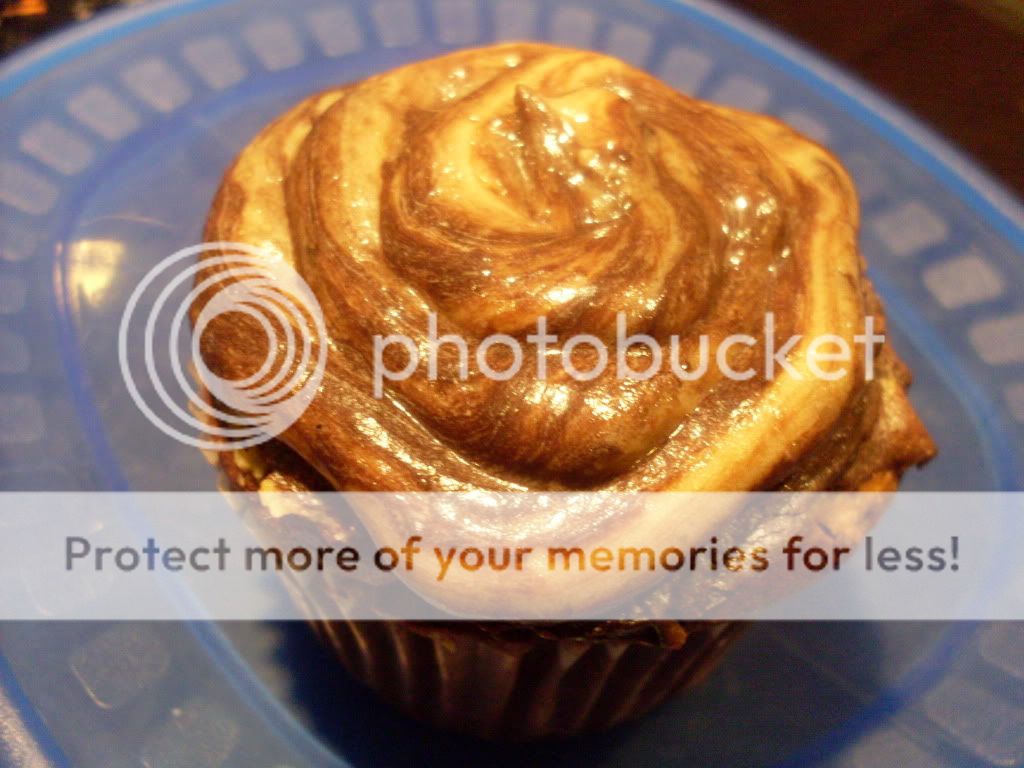
We changed it up a little though and filled them even further with Martha's Creamy Peanut Butter Frosting from page 310 (Recipe). We then topped them by piping Martha's Creamy Peanut Butter Frosting and Hershey's Especially Dark Frosting (Recipe) swirled together.
We used half the recipe for Creamy Peanut Butter Frosting. Combine cream cheese and confectioner's sugar until fluffy. Add salt, peanut butter and vanilla. Beat to combine.
Hershey's Especially Dark Frosting:
Combine melted butter and dark cocoa powder.
Alternate by adding confectioner's sugar and milk and blending. Add vanilla. Add more milk if necessary.
We used the creamy peanut butter frosting to fill cupcakes with a # 10 tip after they cooled as well as swirled it with Hershey's Especially Dark Frosting and piped a swirl on top.
I have to say they turned out pretty yummy but they are more like brownies than a traditional cupcake! Good concept but I will probably follow a different chocolate cupcake recipe next time and add the peanut butter swirl from this recipe to make it more cake-like.
Friday, February 12, 2010
The Twins Make Valentine's Cake Hearts and Cupcake Bites!
We love cupcakes in this house!
We made Bakerella 's cupcake bites and cake balls into hearts. It was very fun and easy! And the best part
they taste sooooo good!!!
We chose to go with red velvet cake to keep with the whole Valentine's theme but any flavor works. You can use your own recipe or box mix. We went with a box mix this time. You also will need some cream cheese frosting again either your own recipe or a can of frosting.
We baked the cake according to directions in 13x9 baking dish. Allow to completely cool!
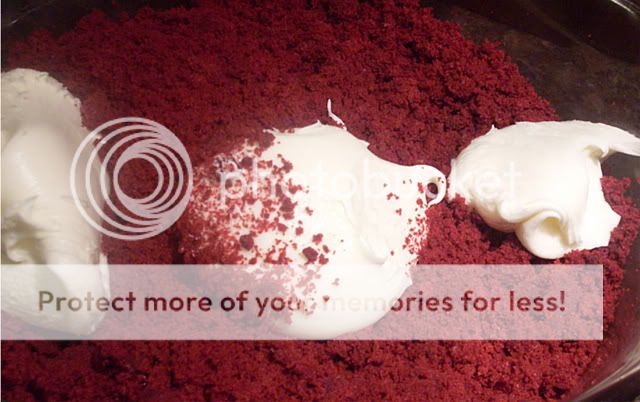
Next, crumble cooled cake into a large bowl and add entire can of frosting. This is the fun part! Use your hands to incorporate the frosting into the crumbled cake.
Place them back on your parchment lined cookie sheet and put in freezer (~15min) while you are melting your candy coating or chocolate.
We made Bakerella 's cupcake bites and cake balls into hearts. It was very fun and easy! And the best part
they taste sooooo good!!!
We chose to go with red velvet cake to keep with the whole Valentine's theme but any flavor works. You can use your own recipe or box mix. We went with a box mix this time. You also will need some cream cheese frosting again either your own recipe or a can of frosting.
We baked the cake according to directions in 13x9 baking dish. Allow to completely cool!
Next, crumble cooled cake into a large bowl and add entire can of frosting. This is the fun part! Use your hands to incorporate the frosting into the crumbled cake.
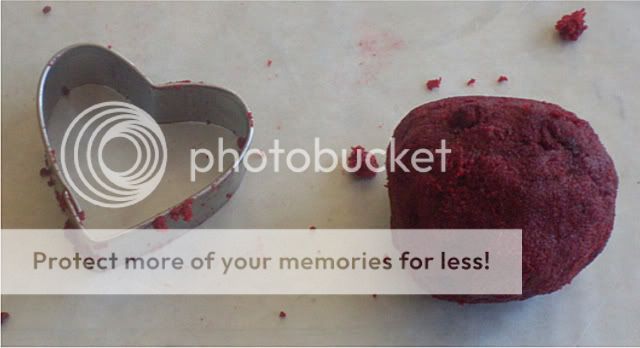
Line a cookie sheet with parchment paper and make little balls of cake (1.5"-1.75' diameter) with your hands. Place them on cookie sheet. Stick cookie sheet in the freezer (~15 min).
Use a small heart shaped cookie cutter to form the cake hearts. We used Wilton Heart Cut Outs
to make our heart shapes.
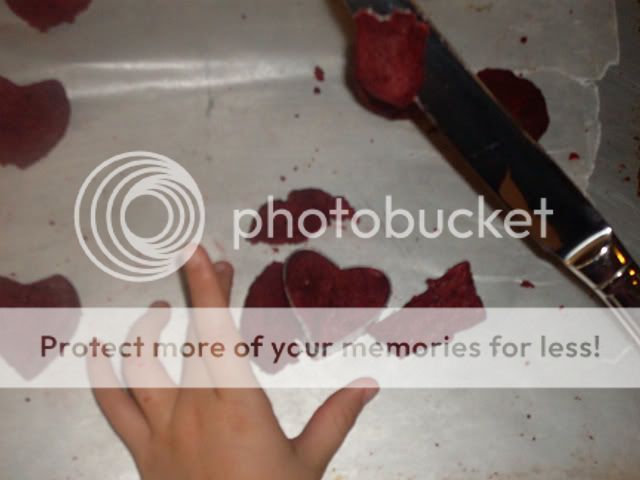
Take each ball flatten slightly with palm of your hand and cut out with cutter.
The top may need to be trimmed with a knife.
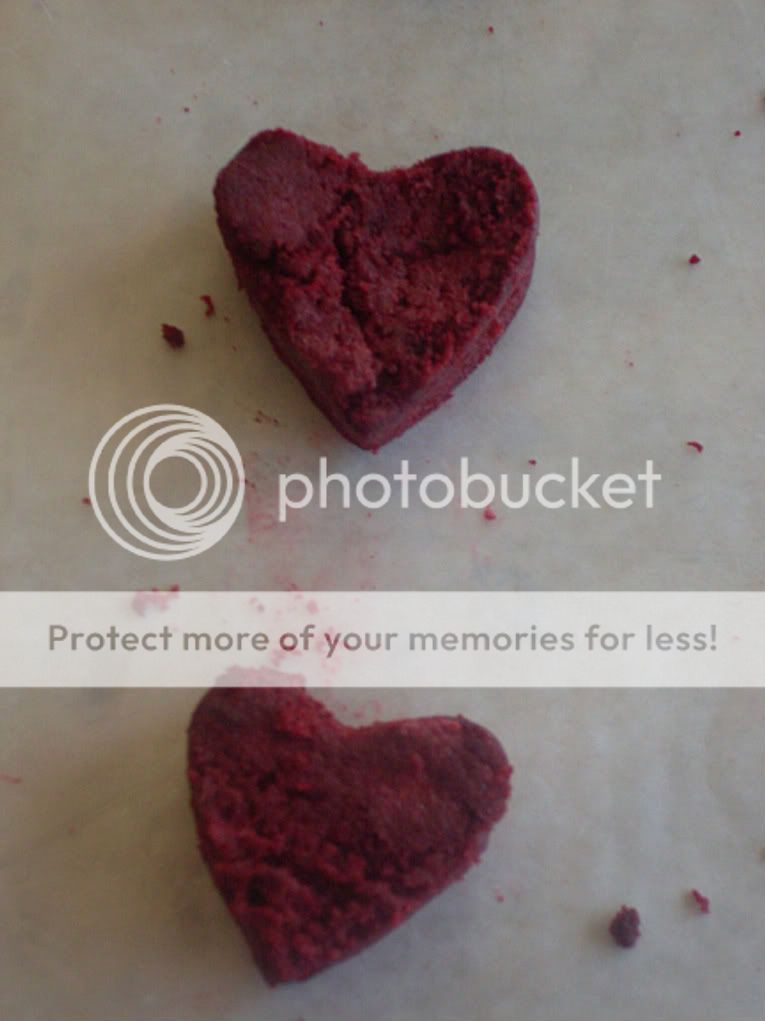
You will end up with these cute little hearts.
Place them back on your parchment lined cookie sheet and put in freezer (~15min) while you are melting your candy coating or chocolate.
To melt candy coating, place a small amount of candy coating wafers in small microwave proof bowl. I have found this 2 cup Pyrex Dish
works really good for melting and dipping. Microwave candy coating for 1 minute at 50% power (or defrost). Stir and microwave in 30 second intervals at 50% power until melted. I usually add Paramount Crystals
to thin the candy coating to make dipping easier.
Take a few hearts out of freezer at a time. Dip the hearts into melted candy coating with a fork and allow excess candy to drip off into the bowl. Tapping the fork on the edge of the bowl helps to remove excess candy coating. Place on parchment lined cookie sheet and allow to set. We decorated some hearts with Wilton Valentine Nonpareils Sprinkles
before candy coating set. We also decorated some with drizzles of candy coating in another color after primary coat set. Sometimes you may need to dip a second time if you are using red velvet or chocolate cake.
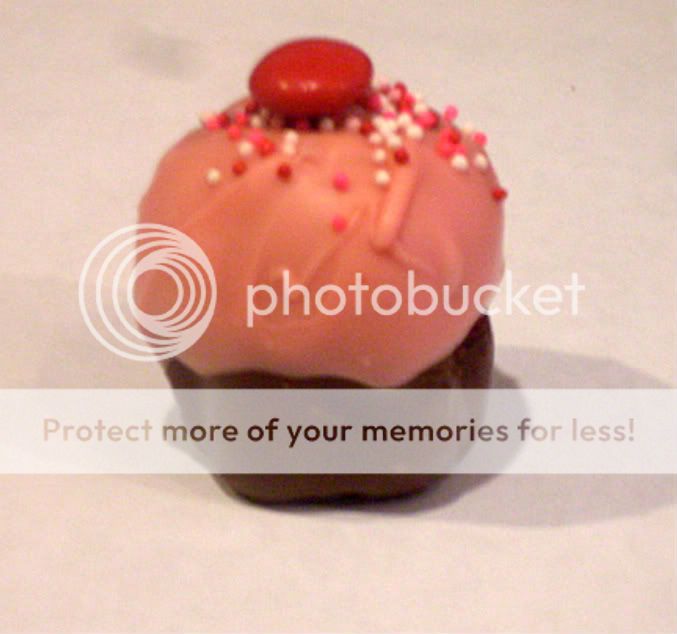
We are planning to give these yummy treats to family and neighbors in a cute little hand made box. We will post that little craft later ;)
We also made cupcake bites following Bakerella's directions here for a Valentine's playdate.
Enjoy!!!
Take a few hearts out of freezer at a time. Dip the hearts into melted candy coating with a fork and allow excess candy to drip off into the bowl. Tapping the fork on the edge of the bowl helps to remove excess candy coating. Place on parchment lined cookie sheet and allow to set. We decorated some hearts with Wilton Valentine Nonpareils Sprinkles
We are planning to give these yummy treats to family and neighbors in a cute little hand made box. We will post that little craft later ;)
We also made cupcake bites following Bakerella's directions here for a Valentine's playdate.
Enjoy!!!
Subscribe to:
Posts (Atom)