Here's how you can DIY a Carnival Party too:
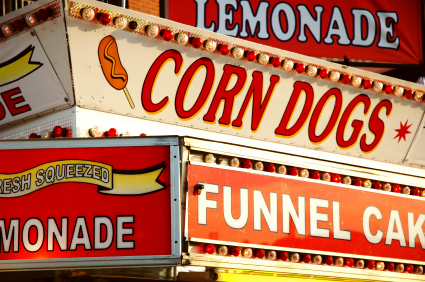
Carnival Food:
- Set up 1-2 tents side by side for food area. Set up an 8' foot folding table for all the food. Put a primary (Red, Yellow or Blue) colored table cloth on the table. Hang a pennant banner on front of table in primary colors.

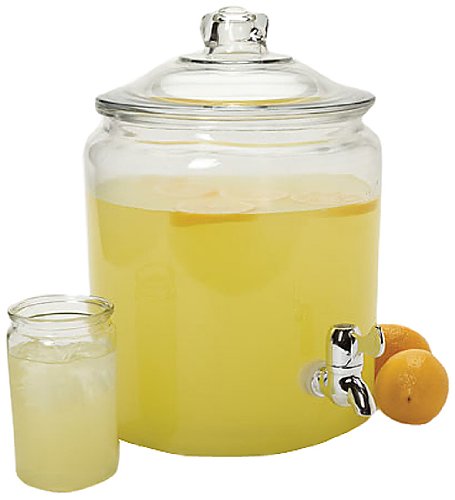
- Lemonade in glass dispenser and water bottles with custom carnival sticker label (DIY-customize using free downloadable carnival font)
- Hotdogs/Corn Dogs: Use a roller grill or crock pots filled with water to keep the hotdogs warm and ready to serve. Or you can set up a fabulous table just like A Little Polka Dot did here.

- Popcorn in paper popcorn bags
. Go all out and rent or buy a popcorn machine!
 . Go all out and rent or buy a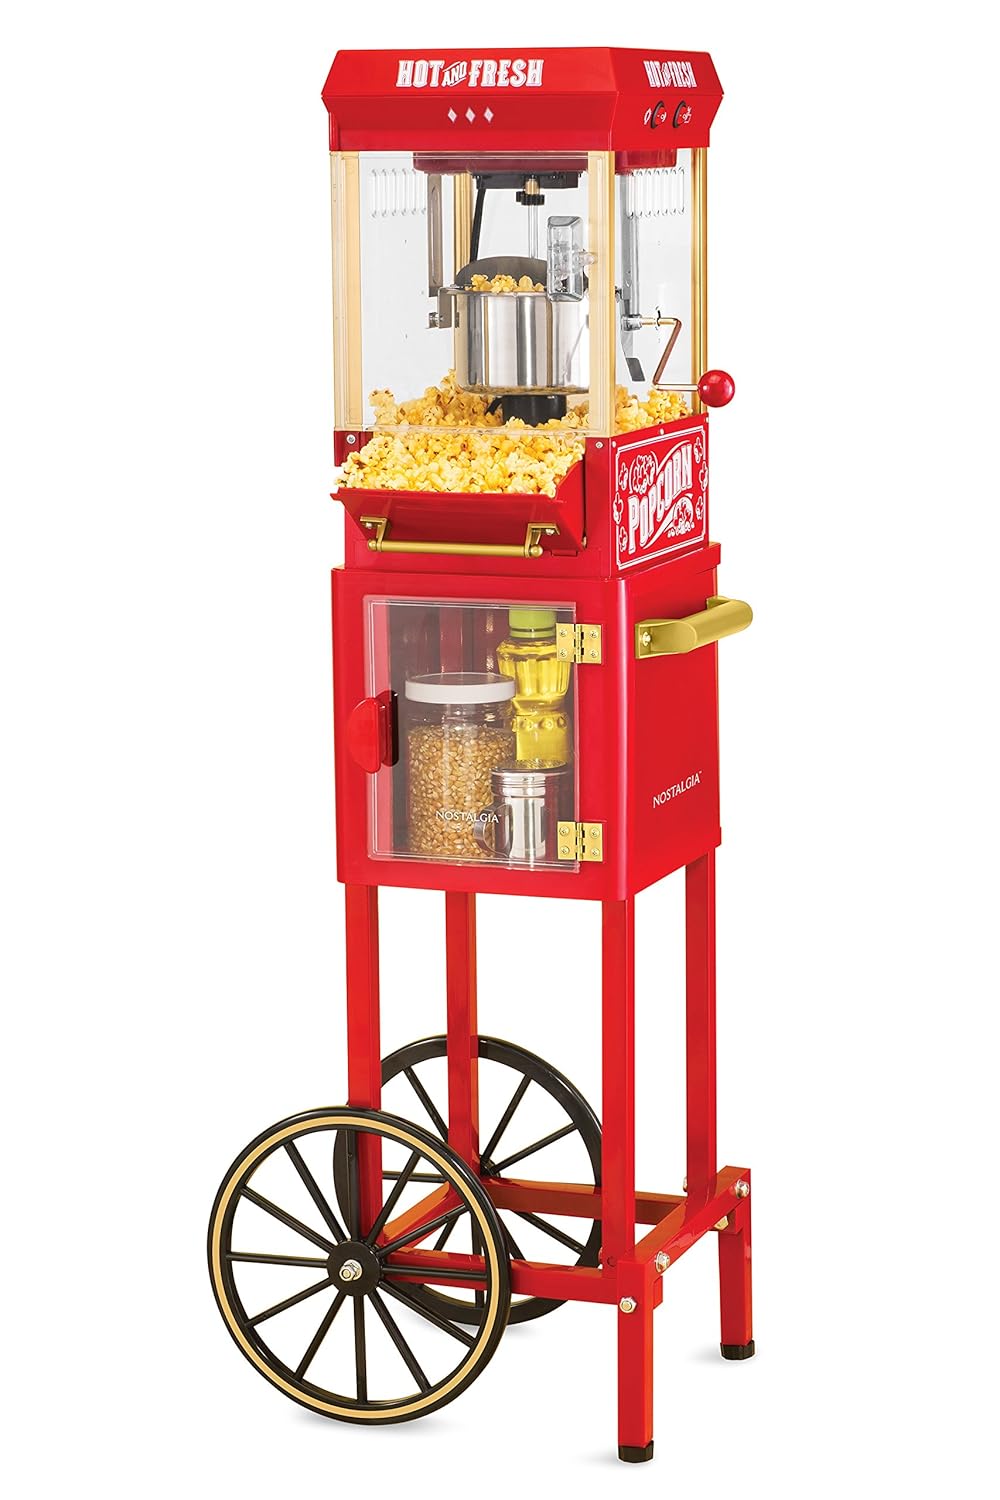
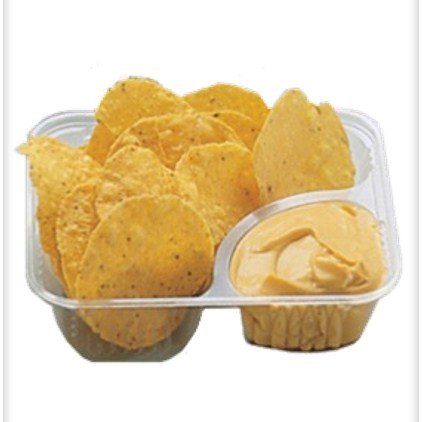
- Nachos: use circle nacho chips and melted nacho cheese, serve in paper or plastic nacho trays ***Tip: You can use these same paper trays to serve your hotdogs, nachos and big pretzels.
- Big soft pretzels with salt (frozen section of grocery store). Serve with nacho cheese and yellow mustard.
- Ketchup, Mustard, Relish in clear squirt bottles from Walmart or dollar spot at Target. ***Tip: Cut tip of bottle bigger with scissors so relish can squirt out.
Dessert Table:
- Under a tent, set up a smaller rectangle or card table for the desserts and cover with another primary color table cloth. Add a pennant banner to the front of table that says "Sweet Treats"!
- Carnival birthday cake (This is a BEAUTIFUL CAKE from Tammy at Southern Cottage Cakery, inspired me to be a blogger) (how to DIY fondant popcorn)

- Popcorn cupcakes (Made by Cakes By Jen )

Here is how Jen did it:
- 1) Bake cupcakes in red and white striped liners or use a cupcake sleeve. Ice with white buttercream. Use miniature marshmallows to make the popcorn by placing them on top of cupcake onto the buttercream layer.
- 2) Use a pair of clean scissors and snip the tops of the marshmallows twice (in opposite directions, to form an "x").
- 3) Lightly spray the top of the cupcakes with yellow color mist to look like butter.
- Caramel apples (DIY)
- Confetti Rice Krispie treats (dip in bright colored sprinkles) (DIY)
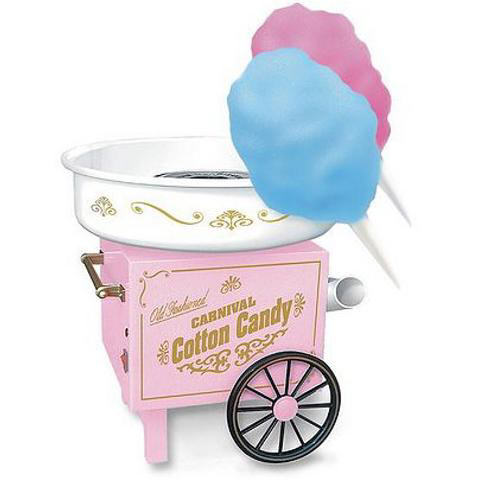
- Cotton candy in paper cones (DIY) Most dollar stores or walmart sell cotton candy or again you can go all out and rent a machine!
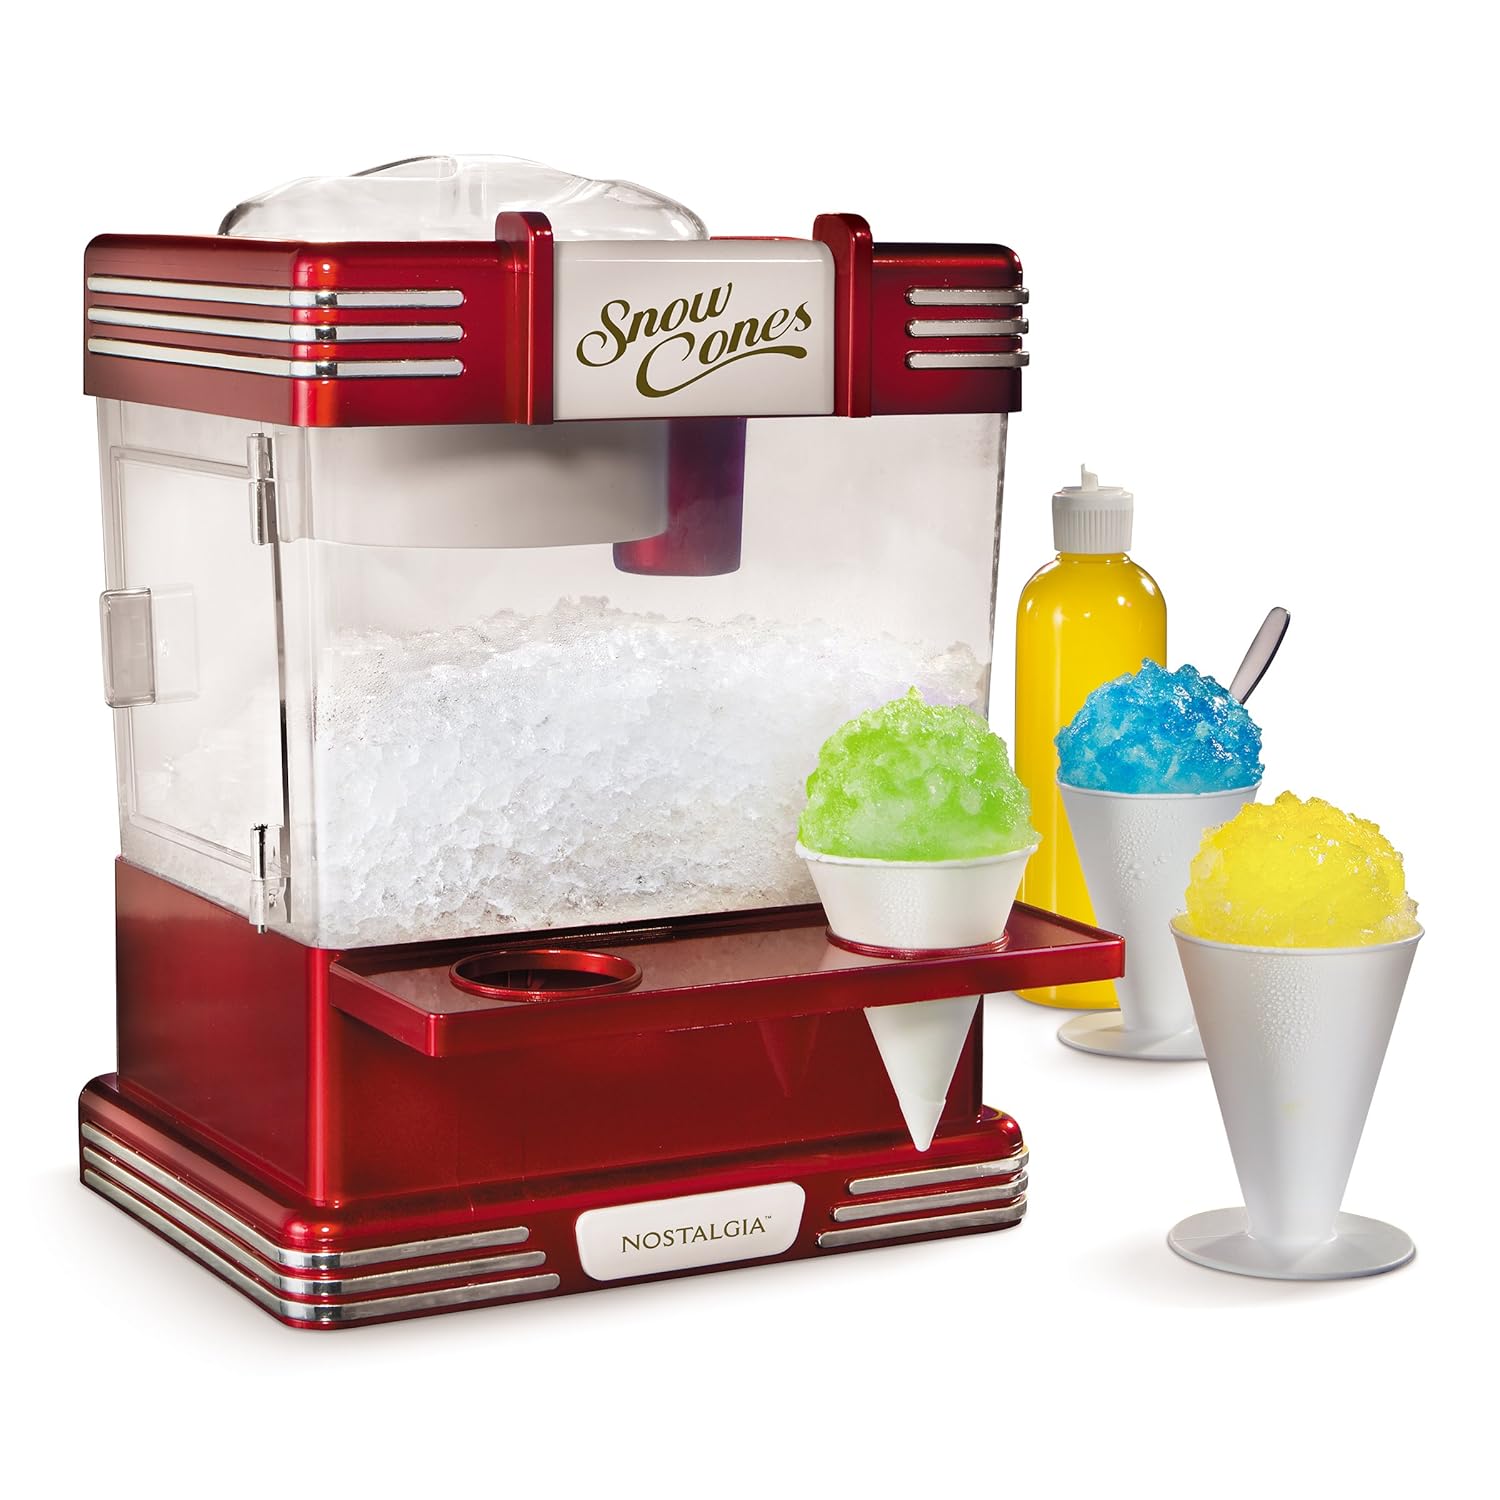
- Snow cones or try colorful italian ice (Store italian ice in a styrofoam cooler with dry ice and have an adult scoop it into 4oz paper souffle cups for kids. They can squeeze it right into their mouth...no spoon needed!)
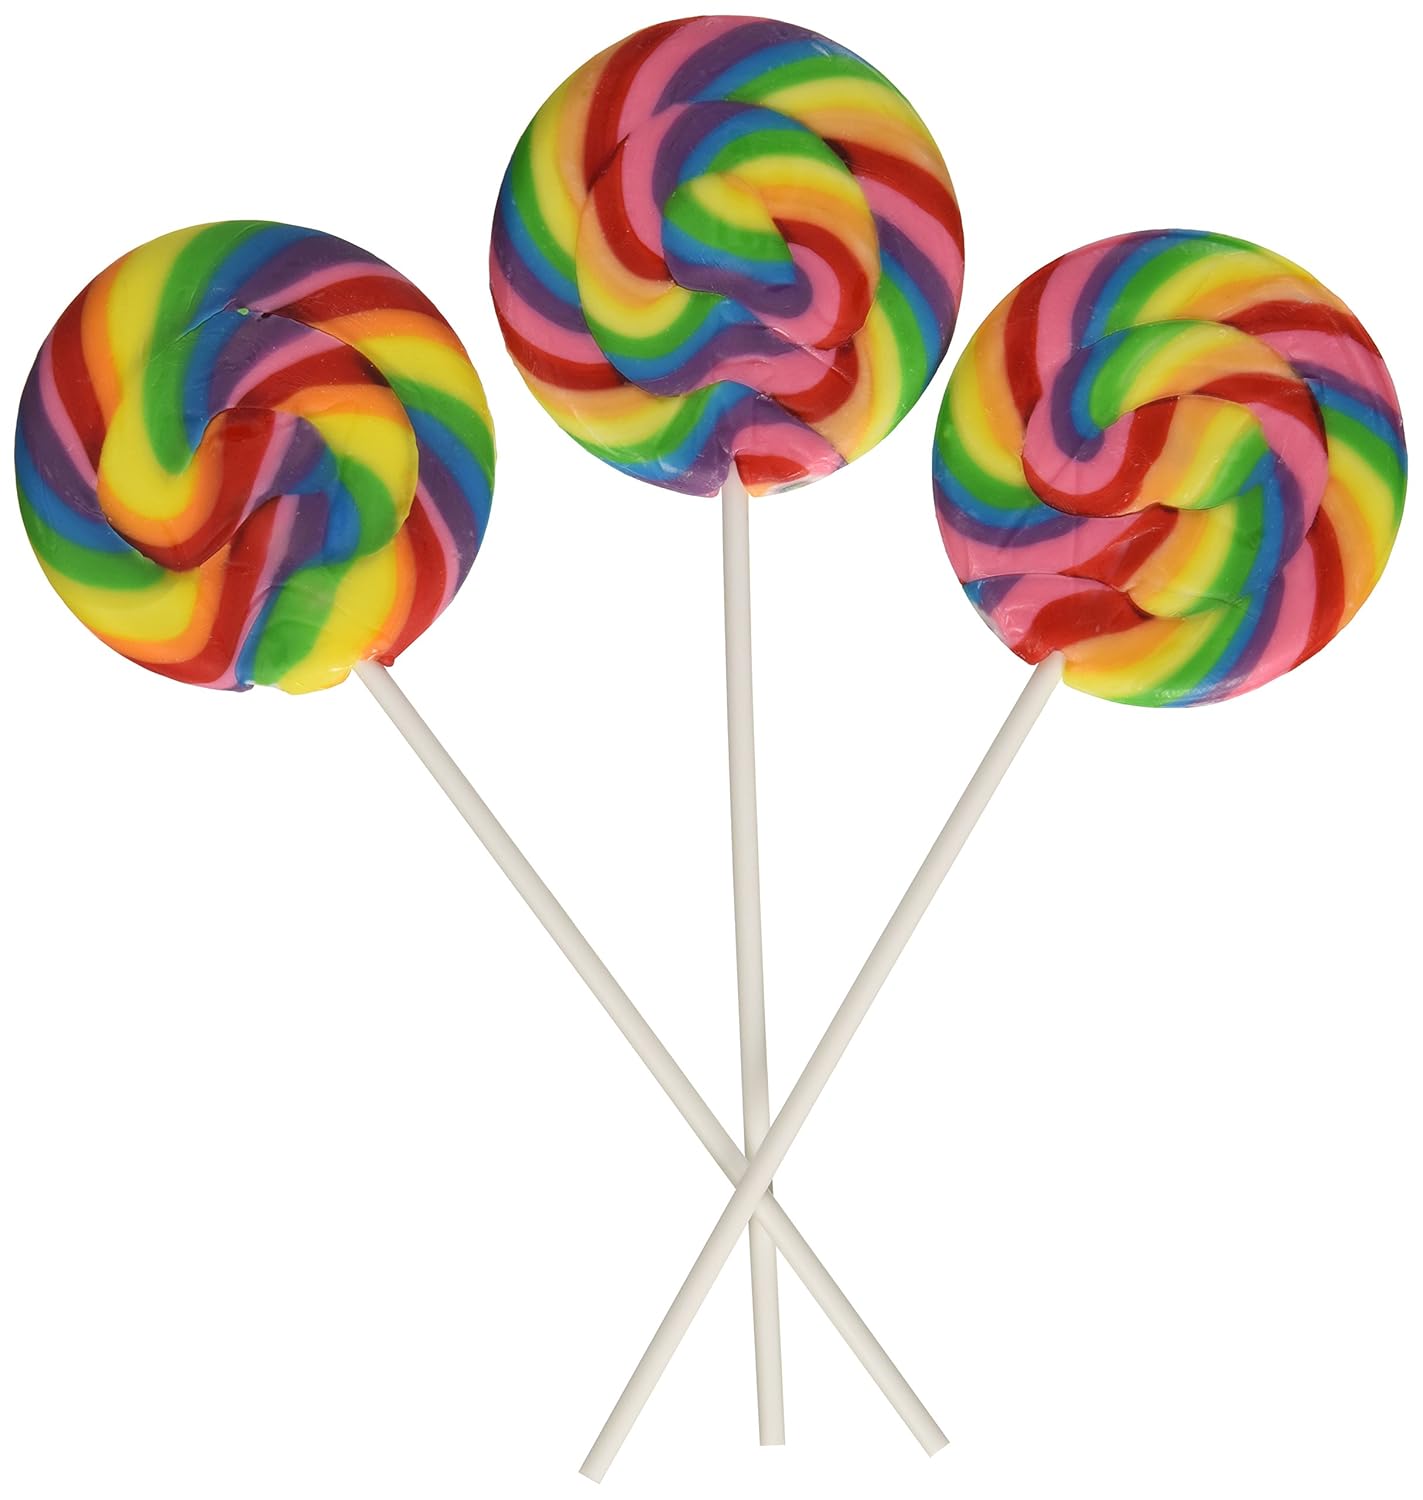
- Low clear bowl or wide brimmed jar filled with skittles with bright colored whirly pops stuck in there which can be purchased from Amazon (Check this out from P is for Party...Beautiful Candy Buffet)
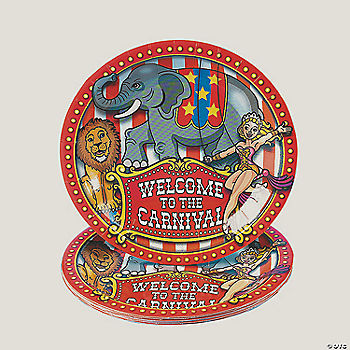
- There are very cool plates and supplies at Oriental Trading called Under the Big Top and also check out amazon to buy paper products in bulk. (Google for a coupon code to save some money while you're at it.)
Carnival Games:
- A group of friends and family members to help out at your booths.
- Shooting Game (Target Buzzy Bee Sharp Shooter Set)
- Ring Toss (Take 25 or 36 plastic soda/water bottles and fill with sand. Put cap back on and spray paint them primary colors: red, blue, yellow. Set them up on a table or low platform in rows of 5x5 or 6x6 with a colored table cloth. Allow children to take a turn tossing the rings which can be pool diving rings.)
- Pie Toss (You will need paper plates with shaving cream or whipped cream, an adult who wants to get messy, a hanging vinyl table cloth for backdrop and plastic chair.)
- Bean Bag toss (Cut circles in cute piece of bright fabric or even a sheet and hang it it up -OR- using plywood DIY ... sew small squares and fill with beans or rice)
- issing Booth (Fill a big jar with Hershey Kisses and have kids guess how many are in the jar! The prize: they win the whole jar.)
- Clothes Pin Drop (Big Glass Jug...Try to drop wooden clothes pins straight down into jug)
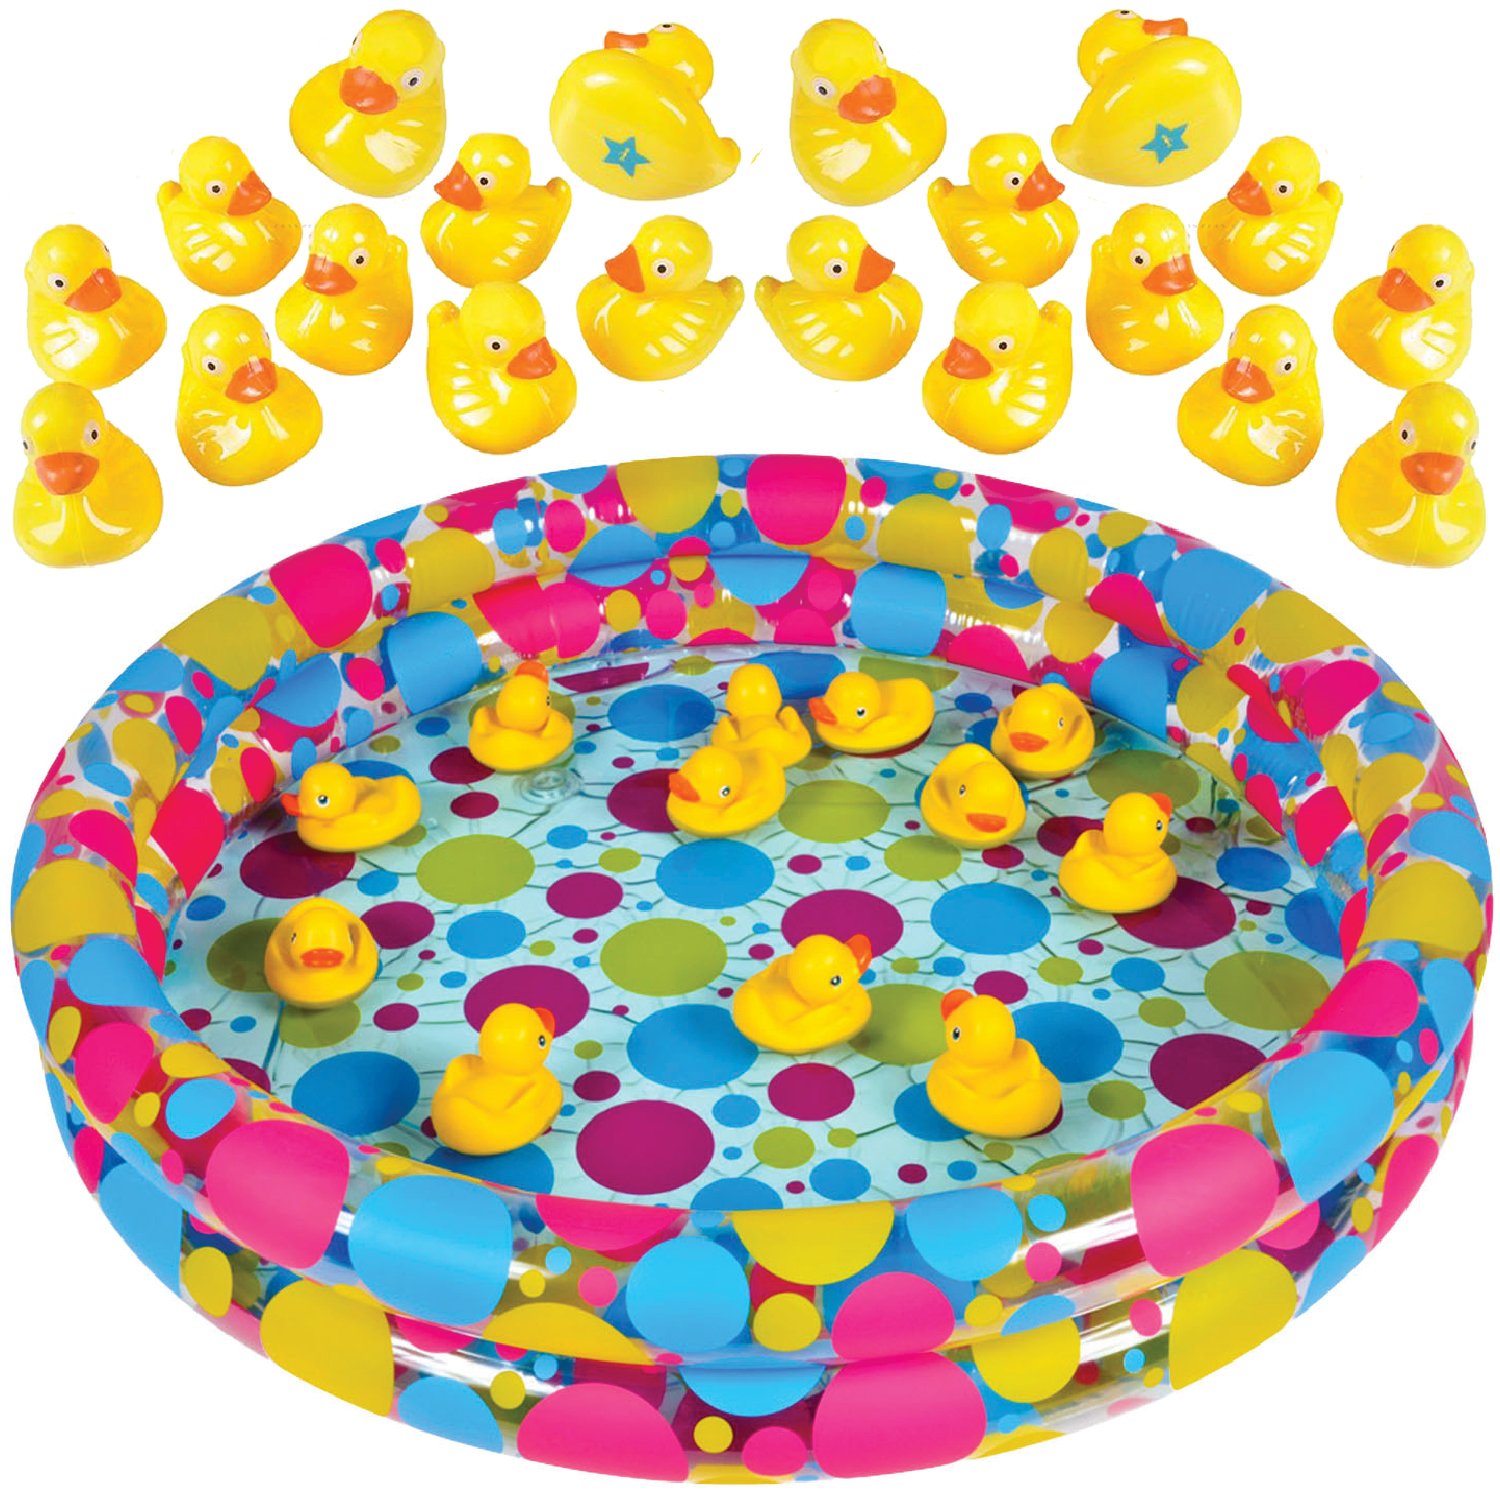
- Fishing Game (Get a small kiddie pool. Then using plastic fish (which can really be plastic fish or it can be construction paper fish which are laminated) and hot glue magnets to them. Fill pool with half way with water. Using a craft store stick to avoid splinters make a fishing pole. Drill a small hole through stick and feed a string through and make a knot. Attach a magnet on the other end of the string. Go Fishing!!)
- Spray Away (Get a foam board and spray paint it a primary color. Paint golf tees with spray paint in another primary color. Stick tees in foam board at regular intervals in a straight line. Place set up on a table covered in primary colored table cloth and put ping pong balls on the tees.Then have kids stand back behind a line and spray the balls with water guns.)
- Tattoo booth
- Face Painting booth
- Balloon Animals booth (you tube has some awesome balloon tutorials)
- Bounce House
- Football Toss
- Big blown up slide
- Ticket Booth (DIY-family Fun)
- Photo booth (Use Fridge/Appliance Cardboard Box. Cut off one side and top completely, spray paint both sides a dark color and cover the back in cute bright wrapping paper (like primary colored polka dots) for your photo background). Have silly props available for photos like clown nose, clown rainbow wig, feather boa, princess crown, funny glasses ect... Have an adult on standby to take kids photos. Give pictures of each kid as thank you cards.
- Win tickets for games and take them to prize table to claim prizes.
- Give kids paper bags with handle (like present style bags) decorated with their names or let them decorate them to collect their prizes. This will be their party favor.
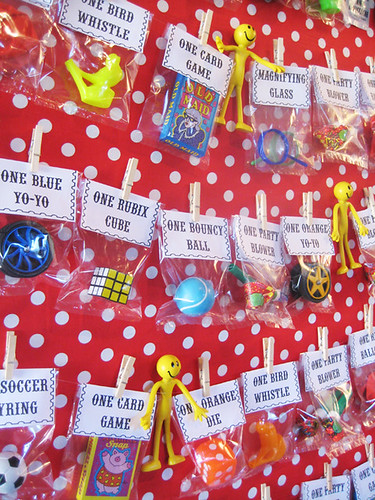
- Prize Board (Cover foam board with bright wrapping paper or fabric, pin prizes to the board in little plastic bags with custom bag tags). Many prizes can be obtained from the dollar store, dollar section at target/walmart, oriental trading.com or a host of other sites out there for party favors. Online shoppers make sure to google for a coupon code for your store before you shop!
Location:
- Backyard
- Nice open park
- School Yard
- Church Parking Lot
Decorations: This is where you can go all out!!
- Red and White Vertical Stripes scream Carnival. Look around for bold wide red and white striped fabric. I have seen it at IKEA
- Tie strips of fabric (red, yellow, blue) to backs of chairs for color!
- Hang crepe paper streamers straight down in primary colors from the door way entry to your carnival if it is at home.
- Use bright colored table cloths in primary colors for tables and games.
- Make your own ticket booth by using an appliance box and painting alternating red and white vertical stripes. Cut a rectangle window for your ticket taker using a box cutter.
- Make your own game booths using card tables, fridge/appliance boxes which are spray painted, etc...
- Check these links out walmart decorations & party city decorations

- Hang red, yellow, blue crepe paper streamers from inside center of tent to edges and let them dangle down on 2-3 sides to look like a big top tent. Tie three red, yellow and blue balloons to inside center of tent.
- No Sew custom pennant banner (DIY)
- Balloon arch (red, yellow, blue...easy to make yourself with helium balloons) DIY You Tube
- Make signs for games with carnival font (make signs on computer and print at print shop like FedEx Kinko's -OR- Print letter templates and hand cut letters out of felt or use diecut machine. Then, glue them to decorated poster board...have fun and let your kids help you too before the party) (Check these fonts Magic Jelly's 12 carnival fonts free download)

Hope these ideas help you have a super fun carnival party!! If you use any of these tips and post your party on your blog, I would love it if you could link back to this post. Thanks!
Photo Credits:
Carnival Food Popcorn Machine Cotton Candy